This week I've installed the front door and the front porch. My DH has paid me the high compliment of expressing his wish to have a porch just like it, to sit on and read a book. I'm pleased with how the porch turned out, but not quite as happy with the door. It's a bit depressing when you have a clear vision in your mind of how something is going to look, but then the end product is a wee bit rough and a wee bit crooked. It looks ok, just not how I pictured it in my mind.
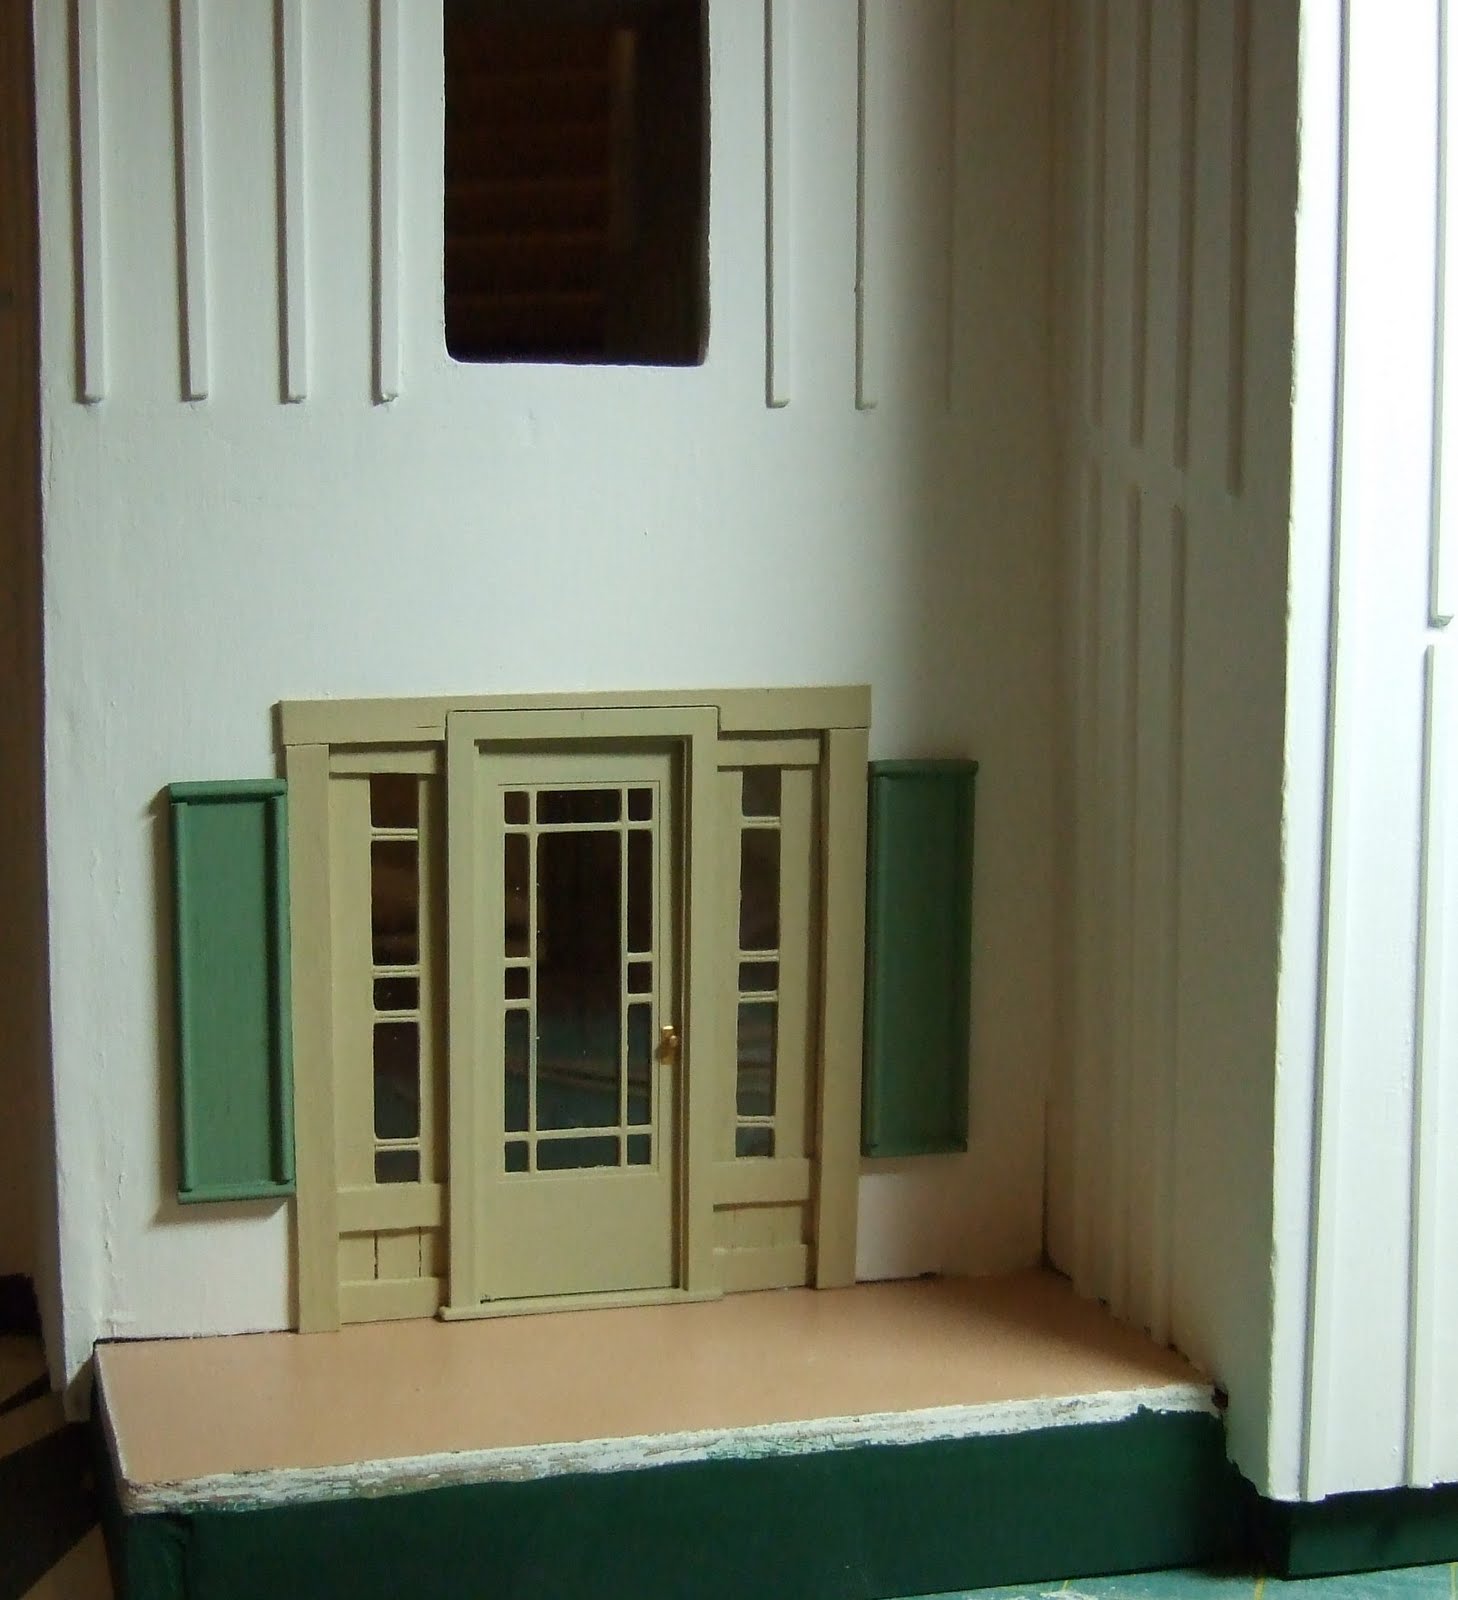
I started out by painting and installing the doorknob on the door, and fitting the hinge (plastic pins) so that the door opens/shuts. Then I made some shutters (thanks to Liesl Kleu who directed me to a picture of the original Pickett Hill shutters) and painted them green. The door came with some 'glass' which I glued in, and I used some clear acetate for the 'glass' in the side windows.
Then I glued in the door, the side windows, a door surround moulding made from coffee stirrers and the shutters. On the interior, I also applied moulding.
Then I started working on the porch, for which I had previously adapted the
original kit porch trim. First step was to apply some filler on the exposed edges and do a lot of sanding. Sometimes working with Greenleaf kits feels more like sculpting than modelling. Then I glued bracing behind the porch pieces to strengthen them and give more surface for gluing.
Several coats of paint later, and more sanding, and I was ready to glue the front onto the side, using a glueing jig for the right angle. I filled in the corner where the two pieces meet with a vertical stick to hide the rough edge.
Meanwhile I glued on a horizontal batten onto the house to support the roof, then glued in the porch.
I made newel posts from a bit of wood with a bead glued on top, and put some filler in the bead holes.
Then I glued on the roof. The underneath surface is painted white to be the ceiling. The top surface just has a rough coat as this will be hidden by shingles later. The next step was to cut a triangular bit to fill in the side of the roof, and to cut and fit moulding all around the base of the porch and on either side of the door, to finish the edges. You can see that I also applied vertical strips to tidy up the glue joint where the porch meets the walls.
And here is the final form of the porch, although it still needs touching up with paint to hide the glue marks and to generally spruce it up. I will have to find a nice wicker seat to put on the porch, or maybe even one on either side, with cushions.


WHooey!!So fabulous. It's amazing what you have done. I could hardly wait for the today's progress report!
ReplyDeleteThat looks incredible! Even though you say the door is a bit crooked I can't tell...it looks perfectly straight to me. The porch turned out great.
ReplyDeleteThe porch really does look fab - you've done an amazing job, just as good as the porch on the original PH. Can't wait to see more
ReplyDeleteWell I can't see anything wrong with the door and sidelights either, and the porch looks terrific. You have done a wonderful job.
ReplyDelete