Sunday 31 October 2010

Wishing I could take pictures of my mind's eye

As I said in reply to one of the commenters (and thanks for your comments - love getting them all!), I get a bit depressed doing the interior trim because it never turns out as good as I think it should - as I can see it in my mind's eye.  Somehow, deficiencies in accuracy or scale seem more forgiveable on the exterior of a house (perhaps they add to its charm?), whereas in an interior, the out-of-scale, or a crudely-done join, seems to leap out at me.

Before I start exhibiting the results, I want to show off my glue-bottle stand.  My f-i-l made this to my specifications, and he did a great job.  It's all beautifully sanded and even has felt on the bottom.  It holds three bottles of tacky glue upside down so that a) they are always ready to use, and b) the annoying little bit left in an almost empty bottle will get used up.


The other thing I did this week was to start painting the base in grass green, in preparation for the day when I glue green flock onto it.  It needs another coat.  DH said that it makes the house look smaller now that it isn't sitting on a big piece of wood colour base.


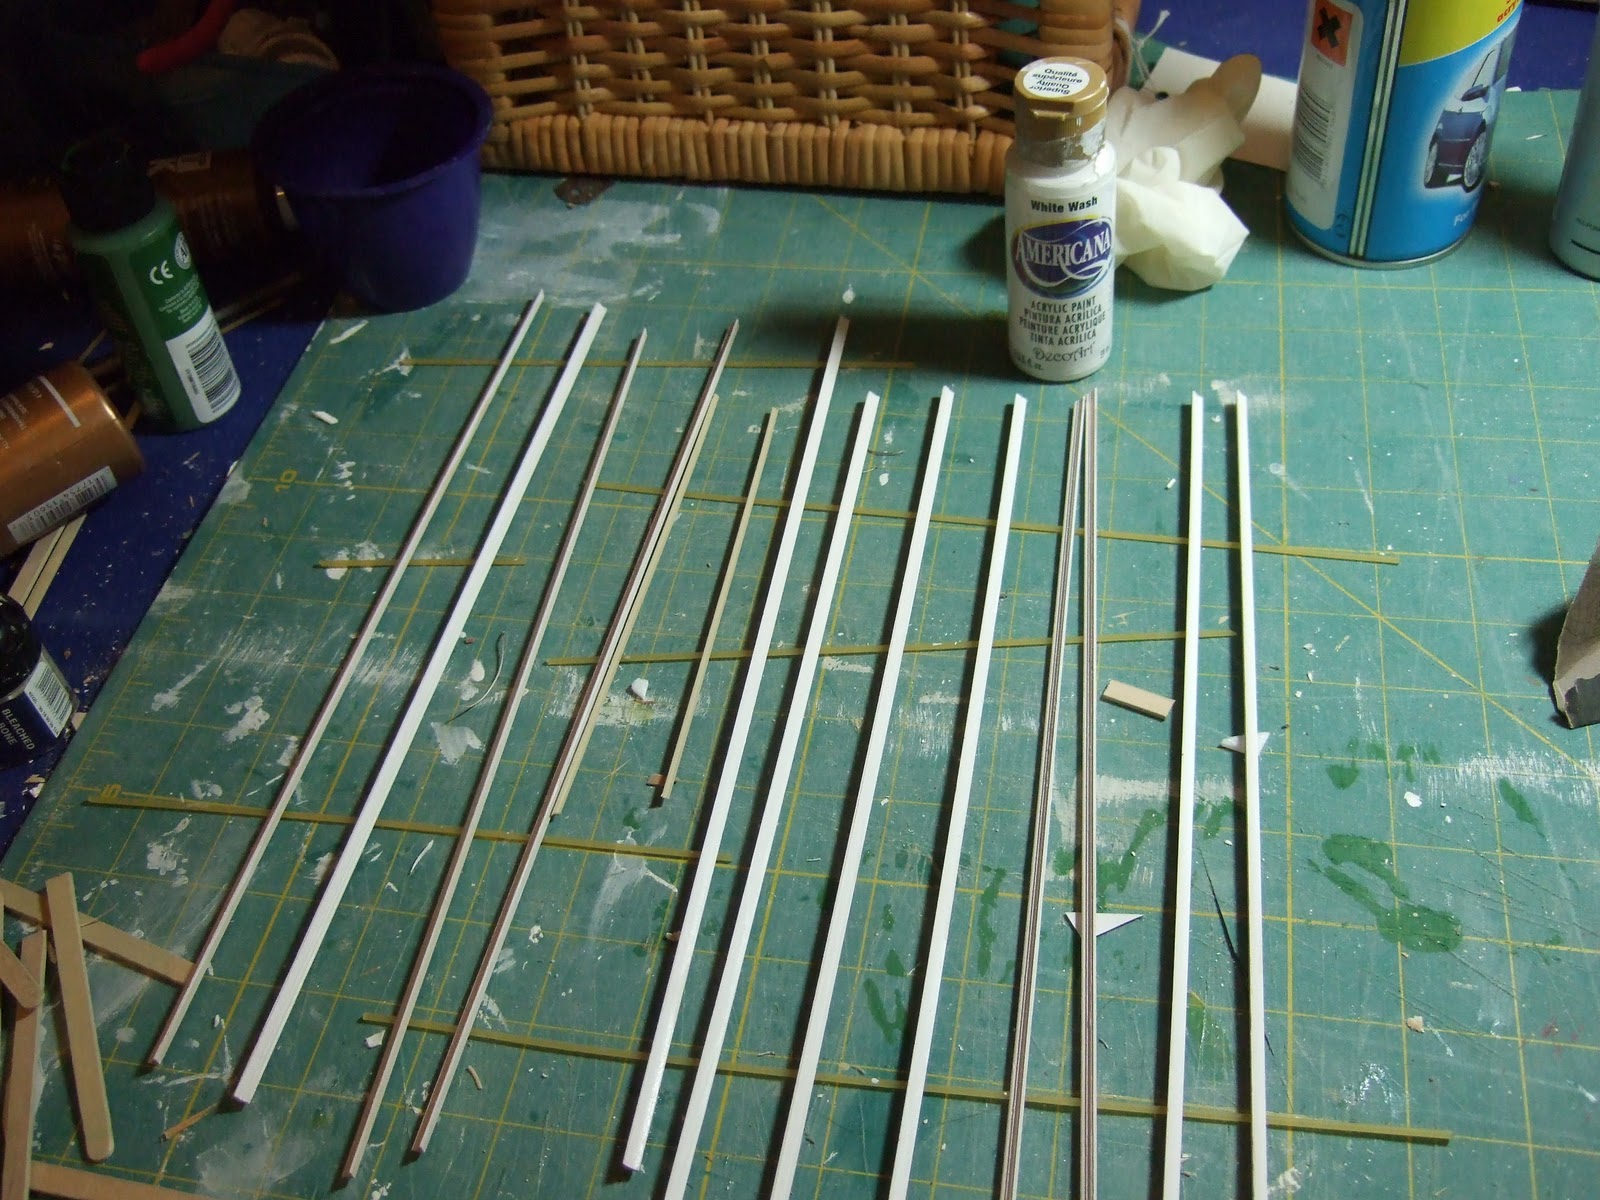
Then I gave my cornice a couple of light coats of white spray paint, and then a couple of coats of white acrylic paint.


I applied skirting to the mezzanine floor, but left off the right hand piece for now as it will have to fit behind the mezzanine railing.  Because the windows are lower to the floor in this room (I had to lower them in order that the front window would fit between the porch roof and the top of the wall), I had to switch to a narrower stick for the skirting.


Then I glued in the cornicing in the mezzanine room.  I am using a simple curved cornice in this room, painted white to match the ceiling.  I am cutting it using a saw and mitre box.  Usually I use wood clippers to cut my sticks, but I find that they crush the cornicing so I use the saw instead.  I am also using the tip that if you have a few 'feathers' of wood sticking out after you have cut a mitre, don't try to sand them off.  Instead, just snip them off with sharp small scissors for a clean cut.  After all the mitre is glued in, I touch up the mitred join with a bit more white paint.

On the window wall, because the window frames extend almost to the ceiling, I had to cut notches in the cornicing to fit around the frame.


On the ground floor, I was able to press my trusty coffee stirrers into service as braces, while the glue dries.


The tricky bit on the ground floor was to fit the cornice around the dog-leg above the door to the kitchen. I found the correct length by cutting bits of coffee stirrer until they fit in, then used the coffee stirrer as a guide to cut the cornice to length.


I've just started working on my mezzanine railing.  I had drawn the outline of the floor in pencil on some paper, before I assembled the house.  Now I am using that as a guide for cutting the railing base.

Sunday 24 October 2010

Trimming, and discovering yet again that I really can't count

This week I refined the shape of my six windowframes, and painted them with several coats of 'Bleached Bone' to match the other trim in the house. Using a spare window, I fitted each window in the doubleheight room in turn, gluing on the interior frame.  I'm not actually gluing in the external windows yet because they are so fragile with their slender mullions.  I'd already broken the spare window.

Of course, I eventually discovered that this house has, in fact, seven windows, not six.  Once again I have proven my complete inability to count accurately - a deficiency which has hampered me in several hobbies (try doing'counted' cross stitch!).  This means that my 'spare' window isn't spare after all, so now I have to decide whether to order another one (which takes ages) or see if I can fix it.  I also need to make a seventh window frame to match the other six.


I've started applying the skirting boards as well.  You can see the skirting in the living room in the above picture, and I've applied some of the skirting in the kitchen.  I can't do all of the kitchen because I'm not sure where all the kitchen furniture is going yet, and I may need to butt cupboards up against walls. Similarly, I can't do the bedrooms yet because I don't know what's going in them (there is no Lydia Pickett bedroom furniture in half-inch scale apart from the master bedroom).

I also framed around the conservatory doors with coffee stirrers, which match the thickness of the Houseworks doors better than the plastic strip I am using for skirting.

Monday 18 October 2010

Working on the mezzanine floor

Since my last post, I finished the stair rail.  I needed to do a bit more filling on the rough spots in the banister, where the edges of the plywood weren't very smooth, then I painted over the filler.  I also glued in the two Grandtline bedroom door frames.

You can see in this first photo a couple of issues that I then needed to fix.  First of all, the Grandtline doorframes are thicker than the plywood walls and protrude slightly.  This was easily fixed by applying the door trim next to the frame, rather than on top of it as I did on the top floor (where the foamcore was thicker).  Secondly, I obviously didn't cut the new boy's bedroom door hole quite deep enough at the bottom, and there is a gap at the foot of the frame visible in this photo.  I carefully applied some filler into the gap, which has dried white and now looks pretty unobtrusive.  Perhaps it is an old house and the floors have sunk slightly...

I painted coffee stirrers and applied them as door trim around the two doors.  For the boy's bedroom, I had to cut the trim to fit around the stair railing.


By placing the frames this way around, the doors will open outwards from the rooms which is unusual.  But this puts the best side of the frames on view when you look in at the bedrooms, and hides the coffee stirrer frames inside the mezzanine.  I have glued the door handles onto the doors, but will not fit the doors until I am finished with the trim on the mezzanine floor, in case I need to access through the doorways.

The next big job is to create windowframes for the gothic windows from Grandtline, which don't come with interior frames.  There was a great suggestion from a reader who said she just buys extra frames, cuts out the middles and uses them as interior frames.  Sadly it would be cost prohibitive to do that here in the UK where it's all imported, so I needed to make my own.

I traced around a window onto thin card, and carefully cut out six frames. It was quite hard to cut evenly, and there were several rejects.


I cut some plain small stick to make windowsills.


Then I gave all six a spray on both sides with sealer.


Soon I will no longer be able to put off cutting cornice and skirting, which I am rather dreading.  Cornicing in particular I find tricky to miter into corners neatly.  I understand how to do it, and have done loads of it, just find that it is always a bit of trial and error as walls are never completely flat, corners are never exactly 90 degrees, plus there is always a 50/50 chance I will cut the miter the wrong way.  Sigh...

Sunday 10 October 2010

Continuing to add detail

It hasn't been a joyous week, as it is has been a bit stressful at work, but I have plodded on with the house in the evenings when I get a chance.

I built the top on the chimney.  First I added some trim around the top of the chimney (former candy floss stick).

 Then I mitered some wider stick around the chimney to form the top.

After painting the chimney top white, I painted the slot black to suggest the chimney void.


I finished the back edge of the bathroom wall with a coffee stirrer painted to match the roof.  After I took this picture, I drybrushed the strip and sealed it.


Contemplating the mezzanine floor, I realised that before I add the railing along the edge, I will need to finish the room (windows, cornice, skirting etc.) while it is still accessible.  Not feeling up to facing that yet, I started working on the stair railing.  I am using a bit of railing that I cut off the top of the stair end wall when I reversed the stairway.


I added a post at the top of the stair.


And I added coffee stirrers to trim out the top of the railing.  The pieces on the floor will form the top of the railing.  And I'm painting some very small trim to run along the foot of the railings to hide the gap between the railings and the floor.  The last step will be to touch up all the paint.


Sunday 3 October 2010

Does shopping count?

Due to a busy week at work, including having to work on Saturday, not much has been done on the house this week apart from touching up some of the white paint around the green shingles.  Despite all the clingfilm and masking tape, a very small amount of green paint ended up where it shouldn't have, so I've cleaned that up now.

However, I did get to go to Miniatura today, the biggest (I think) dollshouse show in the UK, held at the National Exhibition Centre on the outskirts of Birmingham.  I was on a tighter budget than in previous years, due to being made redundant last year and having to take a lower paying job, but I still managed to do quite well on the acquisition front for the Fairfield.


I got some greenery for taking up the wall of the conservatory from Judith of In Some Small Way, and I've ordered some 1/24th clematis blossoms from Georgina Steeds to glue onto the greenery.  I got some Kitchen worktop in a stone-like pattern which I will cut to fit onto the kitchen kit I bought from Judith last year.  From the same stall I bought a Mini rolling pin and Two wall shelves.  I got a pretty  little pot from Elisabeth Causeret of France.  From the Dollshouse Builder, I bought 3 packs of spindles for my mezzanine railing.  I found some extremely reasonably priced kits from Model Village Miniatures to make a small book case, tall book case, Tudor cupboard, 2 nightstands, 2 chairs, settle, small side table, and a square table.  And I got card Kits from Petite Properties to make a corner wall shelf, wall cupboard, chest of drawers (non working) and Tall cupboard.  I was hoping to find a 1/24th scale pond for the garden, but only saw one at the show and it had that wobbly jelly sort of water which I don't like.


I am hoping to get more done this week.  I need to build the top of the chimney next, and finish off the exposed edge of the bathroom wall.  Then I think it will be time to tackle the mezzanine stair railing, balcony railing and then the bedroom doors, before putting in the last wall dividing the two bedrooms.  I may paint the base grass green in preparation for later flocking as well.

I've had to block anonymous comments from the blog, as I was getting more and more spammers posting links.  I hope that isn't inconveniencing any genuine readers, apologies if that is the case.