Saturday 29 May 2010

Front door and front porch

This week I've installed the front door and the front porch.  My DH has paid me the high compliment of expressing his wish to have a porch just like it, to sit on and read a book.  I'm pleased with how the porch turned out, but not quite as happy with the door.  It's a bit depressing when you have a clear vision in your mind of how something is going to look, but then the end product is a wee bit rough and a wee bit crooked.  It looks ok, just not how I pictured it in my mind.

I started out by painting and installing the doorknob on the door, and fitting the hinge (plastic pins) so that the door opens/shuts.  Then I made some shutters (thanks to Liesl Kleu who directed me to a picture of the original Pickett Hill shutters) and painted them green.  The door came with some 'glass' which I glued in, and I used some clear acetate for the 'glass' in the side windows.


Then I glued in the door, the side windows, a door surround moulding made from coffee stirrers and the shutters.  On the interior, I also applied moulding.


Then I started working on the porch, for which I had previously adapted the original kit porch trim.  First step was to apply some filler on the exposed edges and do a lot of sanding.  Sometimes working with Greenleaf kits feels more like sculpting than modelling.  Then I glued bracing behind the porch pieces to strengthen them and give more surface for gluing.


Several coats of paint later, and more sanding, and I was ready to glue the front onto the side, using a glueing jig for the right angle.  I filled in the corner where the two pieces meet with a vertical stick to hide the rough edge.


Meanwhile I glued on a horizontal batten onto the house to support the roof, then glued in the porch.


I made newel posts from a bit of wood with a bead glued on top, and put some filler in the bead holes.


Then I glued on the roof.  The underneath surface is painted white to be the ceiling.  The top surface just has a rough coat as this will be hidden by shingles later.  The next step was to cut a triangular bit to fill in the side of the roof, and to cut and fit moulding all around the base of the porch and on either side of the door, to finish the edges.  You can see that I also applied vertical strips to tidy up the glue joint where the porch meets the walls.


And here is the final form of the porch, although it still needs touching up with paint to hide the glue marks and to generally spruce it up.  I will have to find a nice   wicker seat to put on the porch, or maybe even one on either side, with cushions.

Friday 21 May 2010

And another coat of paint... and another

I have managed to get four coats of white emulsion paint onto the house this week, and will apply what will hopefully be the final coat tomorrow.  Partly it has taken this long as, because I am applying white on top of white, I need excellent light to see what I am doing, which is only available when the evening sun is slanting in the kitchen window right after I get home.  The family are getting used to the reply "when I've finished this coat of paint" as the answer to the question "When's supper?"  The paint I am using does not cover very well, but I suppose it's good that it isn't thick and goo-ey as I am able to get a much better finish without clogging up my sticks.  The paint has helped to meld the sticks to the background and the walls look fairly convincing now, I think.  And it gives a lovely matt finish, better than I think I would have got with craft paint.

Keli has extremely generously offered to ship me her spare porch pieces all the way from Michigan, so that I can use them for the conservatory build.  While I am waiting for those, I think I will build the front porch.  I could start gluing in the windows, but I am hesitant to start blocking access to the rooms until I am sure I don't need it - for example, for gluing in cornice, skirting etc.

The other fiddly job in my future is to create interior window frames for the Grandtline windows.  I suspect these were originally aimed at model railroad hobbyists as they don't come with an internal frame.  You wouldn't need one if you were just applying it to a railroad model house.  I am planning to cut interior frames out of something like light card or plastikard.

Sunday 16 May 2010

Quick check in

Not much to report this week because I've been away for a long weekend.

Painting the external walls
I have decided to go ahead and paint all the walls except the conservatory wall.  I didn't want to mask the window cutouts with masking tape in case it damaged the wallpaper. I happened to have a roll of American Glad 'Press n Seal' wrap, which is a bit like a cellophane that is slightly tacky on one side.  It welds to itself worse than clingfilm, but will also stick lightly to surfaces.  So I've cut pieces of that to put behind every window cut out and pressed it onto the wallpaper, then backed it with light card (cereal packet) held in place by wadded up teatowels in the room.  I've put on one coat so far of white house emulsion and will keep applying coats until I have a good finish.

Conservatory
Keli left a comment to say how nice the conservatory would look if it were made out of leftover porch pieces.  She has some but perhaps doesn't want to post them overseas, but now I am wondering if I could cut out some pieces of wood to make the conservatory look more like the front porch.  I don't think I could manage the balustrades though, but perhaps the curly bits at the top.  Need more time to work on this...  And I'm busy next weekend as well.  Why can't I win the lottery and devote myself full-time to this project?  Note to self: buy more lottery tickets.  :)

Sunday 9 May 2010

A deep breath before tackling conservatory

More sticking last night and today, and I've now stuck on all the sticks I can.  I can't do the back wall until the conservatory is built because I'm afraid to risk ending up with gaps if the roof ends up a slightly different shape than planned.  Here are some pics of the sticks.


After a lot of thought and playing around with bits of wood, I've decided to attempt to scratchbuild my conservatory.  The MDF greenhouse just wasn't cutting it.  When we were at Hobbycraft I was looking at their limited supply for anything that looked like it could be transformed into a conservatory.  I came home with (don't laugh) railway track and plastic canvas doorhanger needlework shapes.  The door hangers have a circle moulded into them so that you can fit them over a doorknob after stitching.  I already had some Northeastern Scale Lumber Gingerbread Trim GBA-1 sourced through Judith of In Some Small Way.  I am hoping to transform all of these into a passable conservatory.  It may be a complete disaster, so please appreciate that I am being brave by telling you of my intentions up front, instead of trying it first then burying the atrocity in the back garden and pretending it never happened.

Saturday 8 May 2010

Sticking sticks

Not much to report this week, I've just been carrying on sticking the sticks on.  In fact, I've just about run out of sticks, despite buying 3 packets (30 pieces of styrene) so we went back to Hobbycraft to get two more packets today.  The styrene cuts easily with modelling clippers, and it is pretty easy to stick them down on the pre-drawn pencil lines.  I gave all the sticks a primer coat of white spray paint before using them (except the ones on the front which I will have to undercoat because I didn't think of spraying them, I was too eager to see what the effect was going to look like...).  My chimney looks a lot better now with the stick-ing applied.

I'm still debating what to do about the porch and conservatory.  I am reasonably happy with bashing the kit porch railings to make my new front porch.  But the conservatory on the original Pickett Hill (PH) house is such a feature.  I have a 1/24th MDF greenhouse kit from The Dollshouse Builder that I was wondering if I could use or adapt.  But it looks clunky compared to the original PH airy laser-cut conservatory.  Also, the roof angle on the Fairfield gable is so much steeper than 90 degrees, so I would have to kitbash the greenhouse roof to a new angle.

I am tempted to scratchbuild a conservatory out of bits and bobs to fit the steep roof angle, but it's never going to look as good as the PH.  I need to make my mind up because I can't stick sticks on that back wall until I know where the roof of the conservatory is going to attach to the house.

Also, once I have decided what shape the conservatory is going to be, I will be able to cut out the landscape base for the entire house to sit on, out of MDF.  Then I can sit the house on that, and build the conservatory base, porch steps etc. 

I remarked to my husband that I have no idea where this house is going to go, once I've finished it, as we have a very small real house.  He just smacked his head and rolled his eyes, he is a long-suffering miniaturist's husband.

Monday 3 May 2010

Assembly Part 2

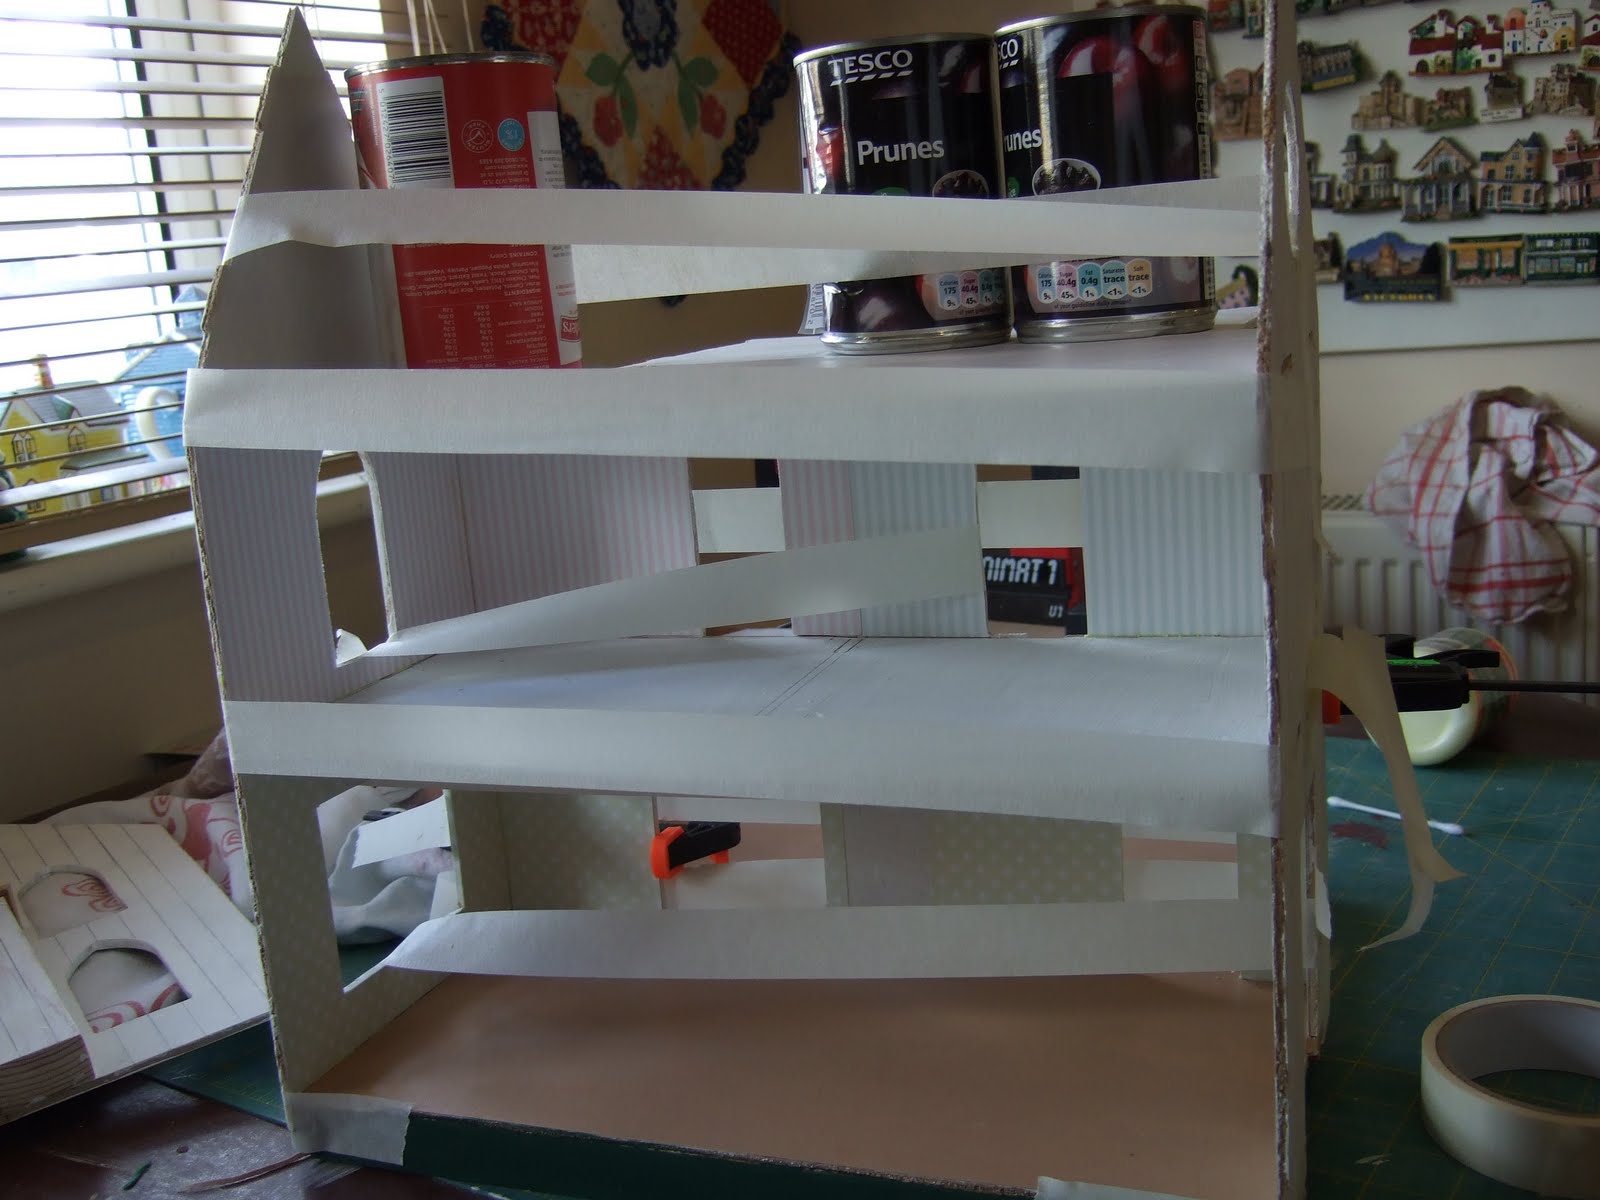
With the staircase mostly completed, it was time to glue in the other two walls to complete the second half of the house.  This turned into a bit of a juggling act, trying to hold the 2nd floor in place, and the front and side walls, to see how they were going to fit, with only two hands when I really needed three.  The 2nd floor needed some fine tuning to get it to sit square on my turned-around staircase.  I had to trim away a hairsbreadth from the cut out in the 2nd floor that fits over the banister, and slightly enlarge the slot in the side wall that receives the 2nd floor tab, before it would all fit together.

Then it was gluing time, and trying to clamp it all to stay in place, in the right place.  I resorted to a fair bit of weight to compress the side wall to a solid fit onto the floors and front wall.  The finished result is pretty good, although there is a small gap at the top of where the front wall meets the centre wall: the result of my not completely straight cutting when I cut out the replacement wall.  It will be less obvious when the outside of the crack is blocked with a vertical batten.


I'm pretty pleased with my doubleheight room.


The last step in this stage of assembly was to punch, prep and wallpaper the partial walls that trim the edges of the room openings.  Then I glued them on.

After all the excitement of this large-scale assembly, I am suddenly back to fiddly slow bits.  Lots and lots of filling, and sanding, and filling, and sanding... as I covered up the tabs and slots in the walls, and finished the edges of the house.  It is a never ending task: you hold the house up to the light to give it one final sand, thinking you are done, and then the light catches yet another imperfection.  I eventually called it quits and decided it was good enough.

Now it's decision time on what to tackle next.  My instinct is to finish all the vertical battens and give the exterior walls their final coat of white paint, prior to gluing in all the windows.  However, the vertical battens are going to be interrupted not only by windows, but by things I haven't built yet - like the front porch and the conservatory.  Yet the porch and conservatory feel like final trim items that need to be decorative and match the roof gingerbread... only I haven't built the roof yet and won't be building it for some time.  Dollshousing often feels like this - an exercise in logical sequencing: "If I do that now, then I won't be able to reach this, so I'd better do this first, except then I won't be able to reach that..."

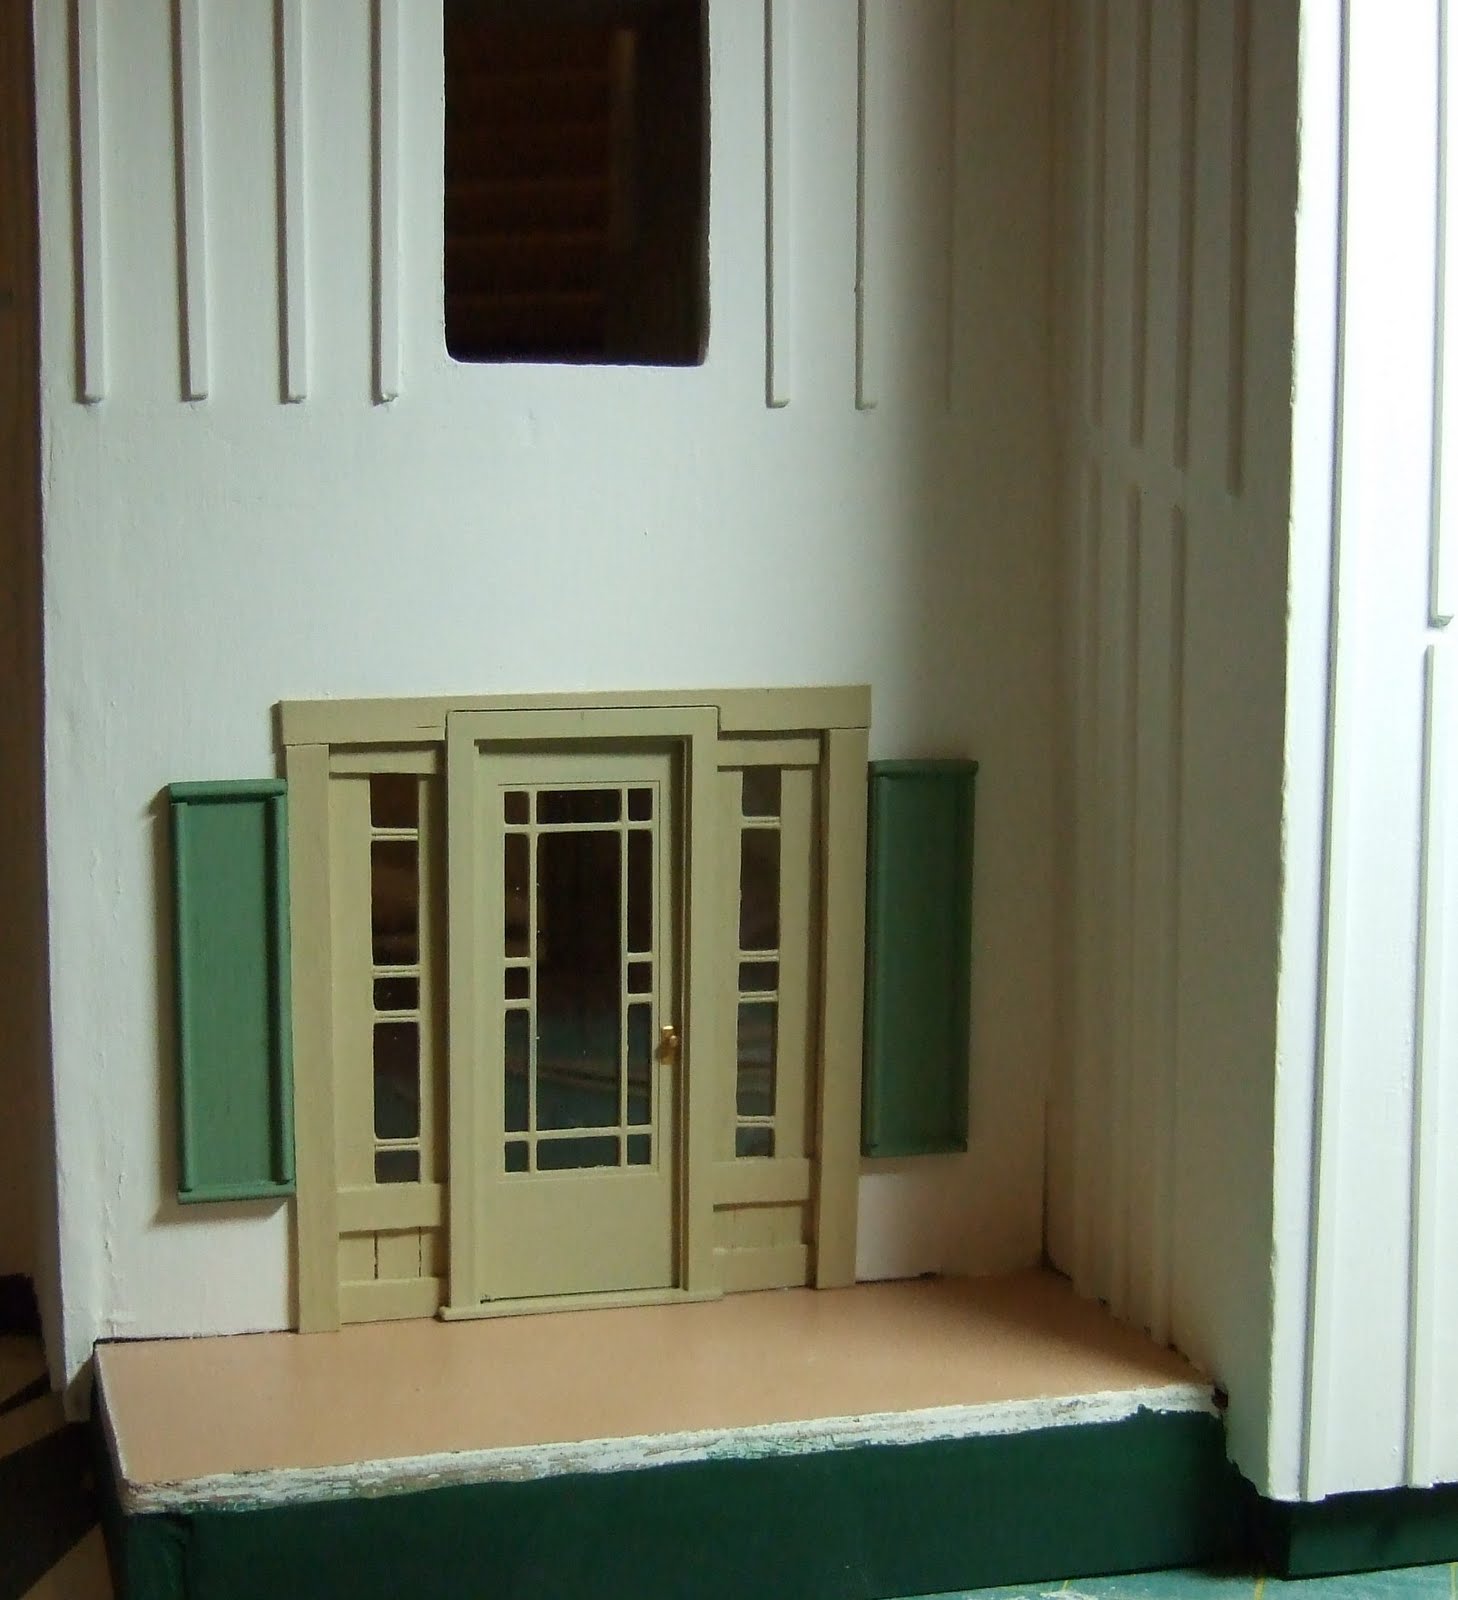
One big minus for this house is that it isn't going to have the exquisite laser cut gingerbread trim of the 1/48th original.  Especially the original porch, which looks lovely.  I had a play with the porch pieces which come with the kit, and by cutting them slightly shorter, and cutting out the middle post, I think I can use these to support my new porch roof. For the side, I have cut up two pieces and will join them into one. It won't be as nice as the original but I think it will look ok.

I started gluing on some vertical battens to see how it would work.  I'm gluing on the styrene pieces with solvent-based Quick Grip (like Uhu), applying the glue sparingly so it doesn't seep out and show along the sides of the strips. I drew around my windows so I could judge where to start and stop the battens.

Sunday 2 May 2010

Assembly at last (part 1) and staircase

Whew, second post today.  After blogging the bay window this morning, I settled down to some serious assembly at last, after all this prep work.

Having realised that I needed to construct the house in two halves, in order to be able to fill the tab/slots on the central wall before I could finish wallpapering the living room, I started out by gluing in the central wall, then adding the front and rear walls.  The second floor is sandwiched in between, and the attic floor sits on top.

Like many people, I use masking tape as a temporary clamp for well-fitting glued joins.  Good quality tape is surprisingly strong, and I went through rolls of the stuff when I was building my Willowcrest.  The tins on top are weighting down the attic floor so that the slots fit well into the tabs at the top of the central wall.
For joins that need a bit more power, I use clamps.


Once the glue had dried (including the glue that I tried very hard not to get on the wallpaper but did anyway), I was able to fill the join where the second floor tab meets the central wall.

Then I could wallpaper the central wall of the living room.  The wallpaper doesn't cover the whole wall because the front and back portions of the wall are actually external wall.  I took the wallpaper inside the door frames, but it doesn't look particularly neat so I may need to revisit.

Then I glued in the staircase and the staircase wall (but not the panel closing in the back of the staircase).   

Once the glue had dried, I cut my  last piece of mural wallpaper (I had two sheets, and this was the last large fragment).  I wanted a neat finish where the stair back met the door, so I began by wrapping the edge of the wallpaper around the back piece and gluing it down along the edge that will meet the wall.  Then, without doing anything further to the loose flap of wallpaper, I glued the back piece onto the staircase.  Once that had dried, I applied wallpaper paste as usual and wrapped the paper around the staircase.  This resulted in a few wrinkles at the bend but they aren't too noticeable.

When all that had dried, I glued in the false wall in the kitchen, which I had already wallpapered.

I finished off the banister with a simple coffee-stirrer railing, a wood scrap post at the bottom, and covered up the raw edge of the stair wall with another scrap.


Building the bay window

It's a long weekend here in the UK, so I am getting a lot more done on the kit than I have for the last week.  Yesterday I kitbashed my Houseworks H5008 Bay window so that it looks more like the dining room bay window on the Pickett Hill (PH) house.

The window is designed to fit an opening 3 3/8" wide by 2 1/2" high.  However, the PH has a window seat fitted into the bay underneath the window.  So I started by cutting my opening to be higher than the actual window.  The bottom of the opening is at a similar height to a chair seat in this scale.  When I wallpapered this wall, I folded the wallpaper into the opening to cover the raw edges of the opening.


You will notice that the bottom of the window is missing.  I carefully it away on my Unimat toy scroll saw.  My learning from this experience was that I should have glued in the window frames first (which arrive loose in the packet) as once you cut away the bottom, the window becomes unstable.  I managed to snap the glue joint on one side of the window and had to glue it back together.


On the PH, the bay window continues on the outside right down to the bottom of the exterior wall.  To build a similar extension, I started with a piece of card, scored to bend in two places so that it matches the window.  I cut two pieces of foamcore to be the internal braces.


I glued one brace at the bottom of the card, this will be the bottom of the window on the outside.  The other brace, I set about 1/4 inch down from the top edge of the card, so that it will be level with the bottom of my window opening - thus forming the window seat.


I then turned to my trusty stock of coffee stirrers, to add panelling detail to the outside of the bay.

Then painted the structure in GW Bleached Bone beige.  But I won't be attaching it until the exterior walls are finished.