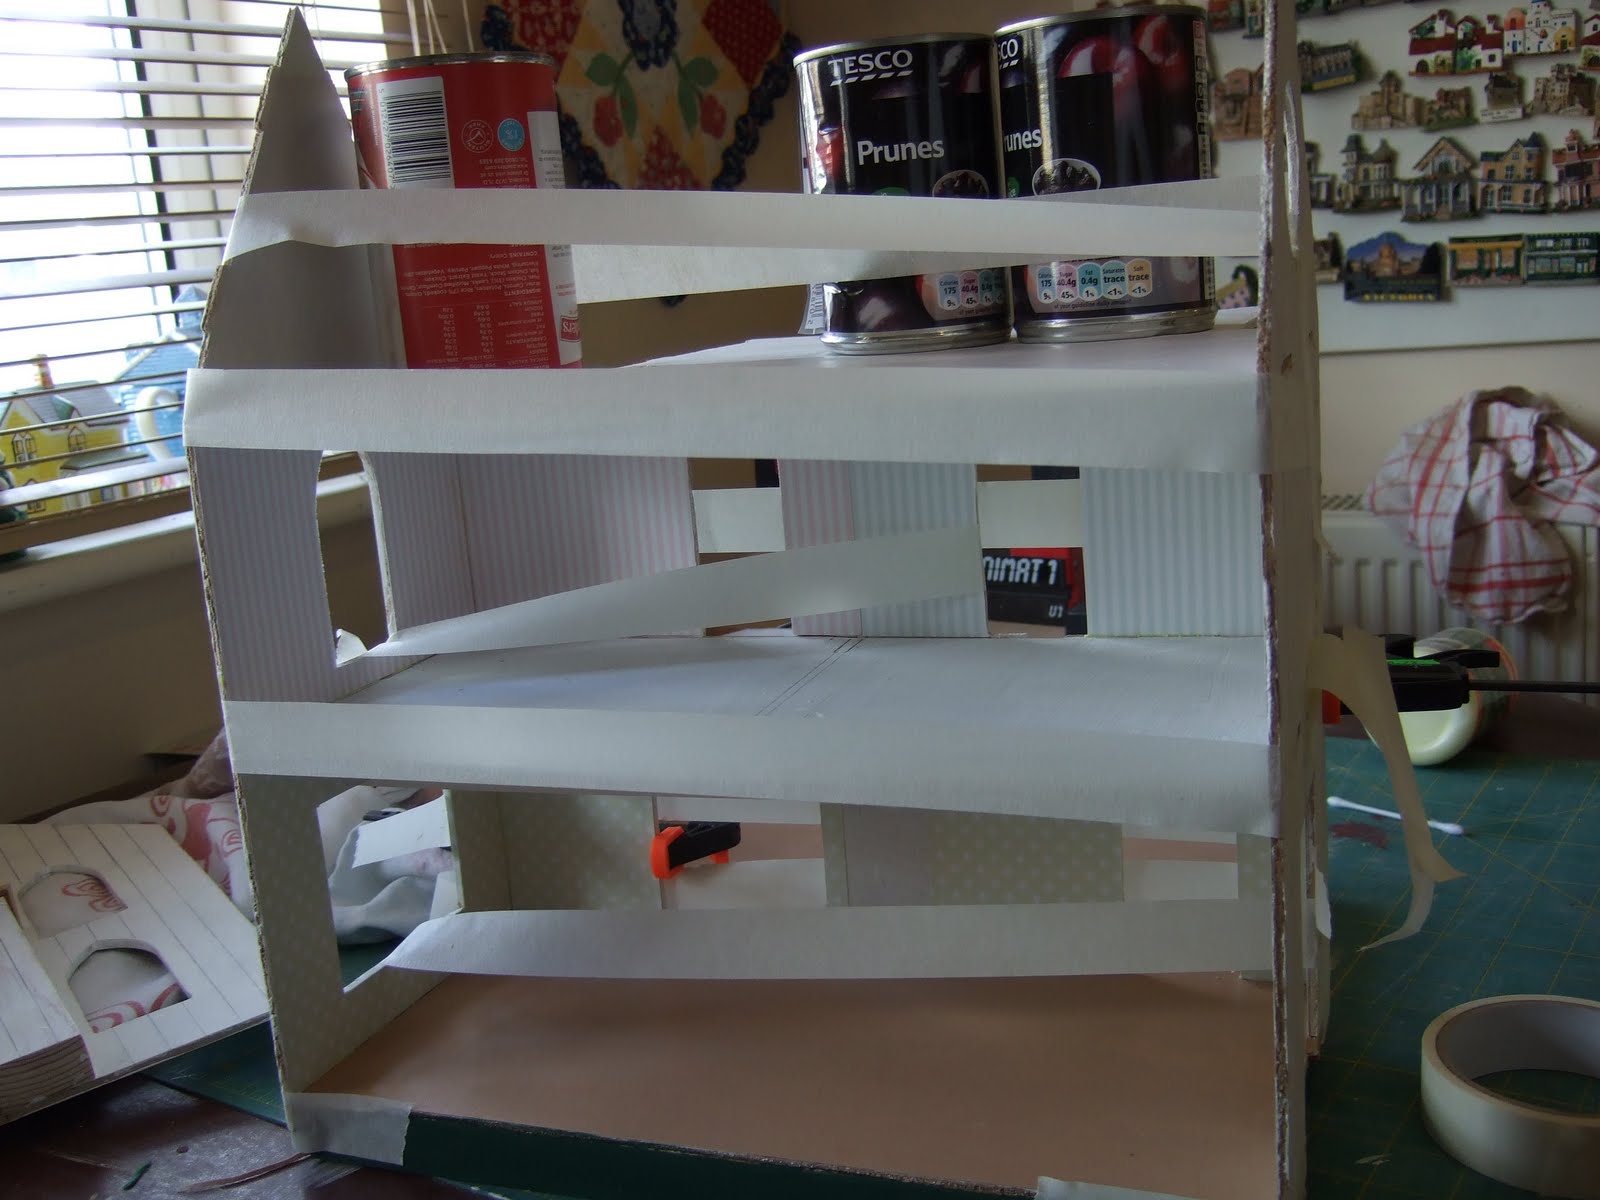
Like many people, I use masking tape as a temporary clamp for well-fitting glued joins. Good quality tape is surprisingly strong, and I went through rolls of the stuff when I was building my Willowcrest. The tins on top are weighting down the attic floor so that the slots fit well into the tabs at the top of the central wall.
For joins that need a bit more power, I use clamps.

 Once the glue had dried (including the glue that I tried very hard not to get on the wallpaper but did anyway), I was able to fill the join where the second floor tab meets the central wall.
 Then I could wallpaper the central wall of the living room. The wallpaper doesn't cover the whole wall because the front and back portions of the wall are actually external wall. I took the wallpaper inside the door frames, but it doesn't look particularly neat so I may need to revisit.
 Then I glued in the staircase and the staircase wall (but not the panel closing in the back of the staircase).
  Once the glue had dried, I cut my last piece of mural wallpaper (I had two sheets, and this was the last large fragment). I wanted a neat finish where the stair back met the door, so I began by wrapping the edge of the wallpaper around the back piece and gluing it down along the edge that will meet the wall. Then, without doing anything further to the loose flap of wallpaper, I glued the back piece onto the staircase. Once that had dried, I applied wallpaper paste as usual and wrapped the paper around the staircase. This resulted in a few wrinkles at the bend but they aren't too noticeable.
 When all that had dried, I glued in the false wall in the kitchen, which I had already wallpapered.
 I finished off the banister with a simple coffee-stirrer railing, a wood scrap post at the bottom, and covered up the raw edge of the stair wall with another scrap.
Looking great! Almost makes me want to convert my Fairfield to another PH lol!
ReplyDeleteHi! I'm new to the whole dollhouse world, and am looking at getting my first kit soon. I'm currently working on a Halloween-themed craft stick house. I'm reading your blog from the beginning (obviously) and just wanted to say thank you for writing such informative and detailed posts! I love what you've done with this bash, and the conservatory is just... Wow. I want to grab a book and sit in there or on the porch for a while... You are an inspiration! I'm already plotting how to bash the Orchid I'll probably end up with. Can't wait to see how it all turns out!
ReplyDelete~bunny
Hi! I'm new to the whole dollhouse world, and am looking at getting my first kit soon. I'm currently working on a Halloween-themed craft stick house. I'm reading your blog from the beginning (obviously) and just wanted to say thank you for writing such informative and detailed posts! I love what you've done with this bash, and the conservatory is just... Wow. I want to grab a book and sit in there or on the porch for a while... You are an inspiration! I'm already plotting how to bash the Orchid I'll probably end up with. Can't wait to see how it all turns out!
ReplyDelete~bunny