Sunday 28 November 2010

The end is nigh

I am now getting to the point where the end of the construction phase is in sight.  The last time I should need to pick the entire house up and tilt it, will be when I flock the grass.  So after that I should be able to install the windows and start furnishing the rooms.

Finishing the mezzanine railing

To finish the top of the mezzanine railing, I cut pieces of coffee stirrer to fit around the top, to conceal the drilled holes.  I left the first and last piece loose until the railing was glued in place, so that I could cut them to fit exactly.


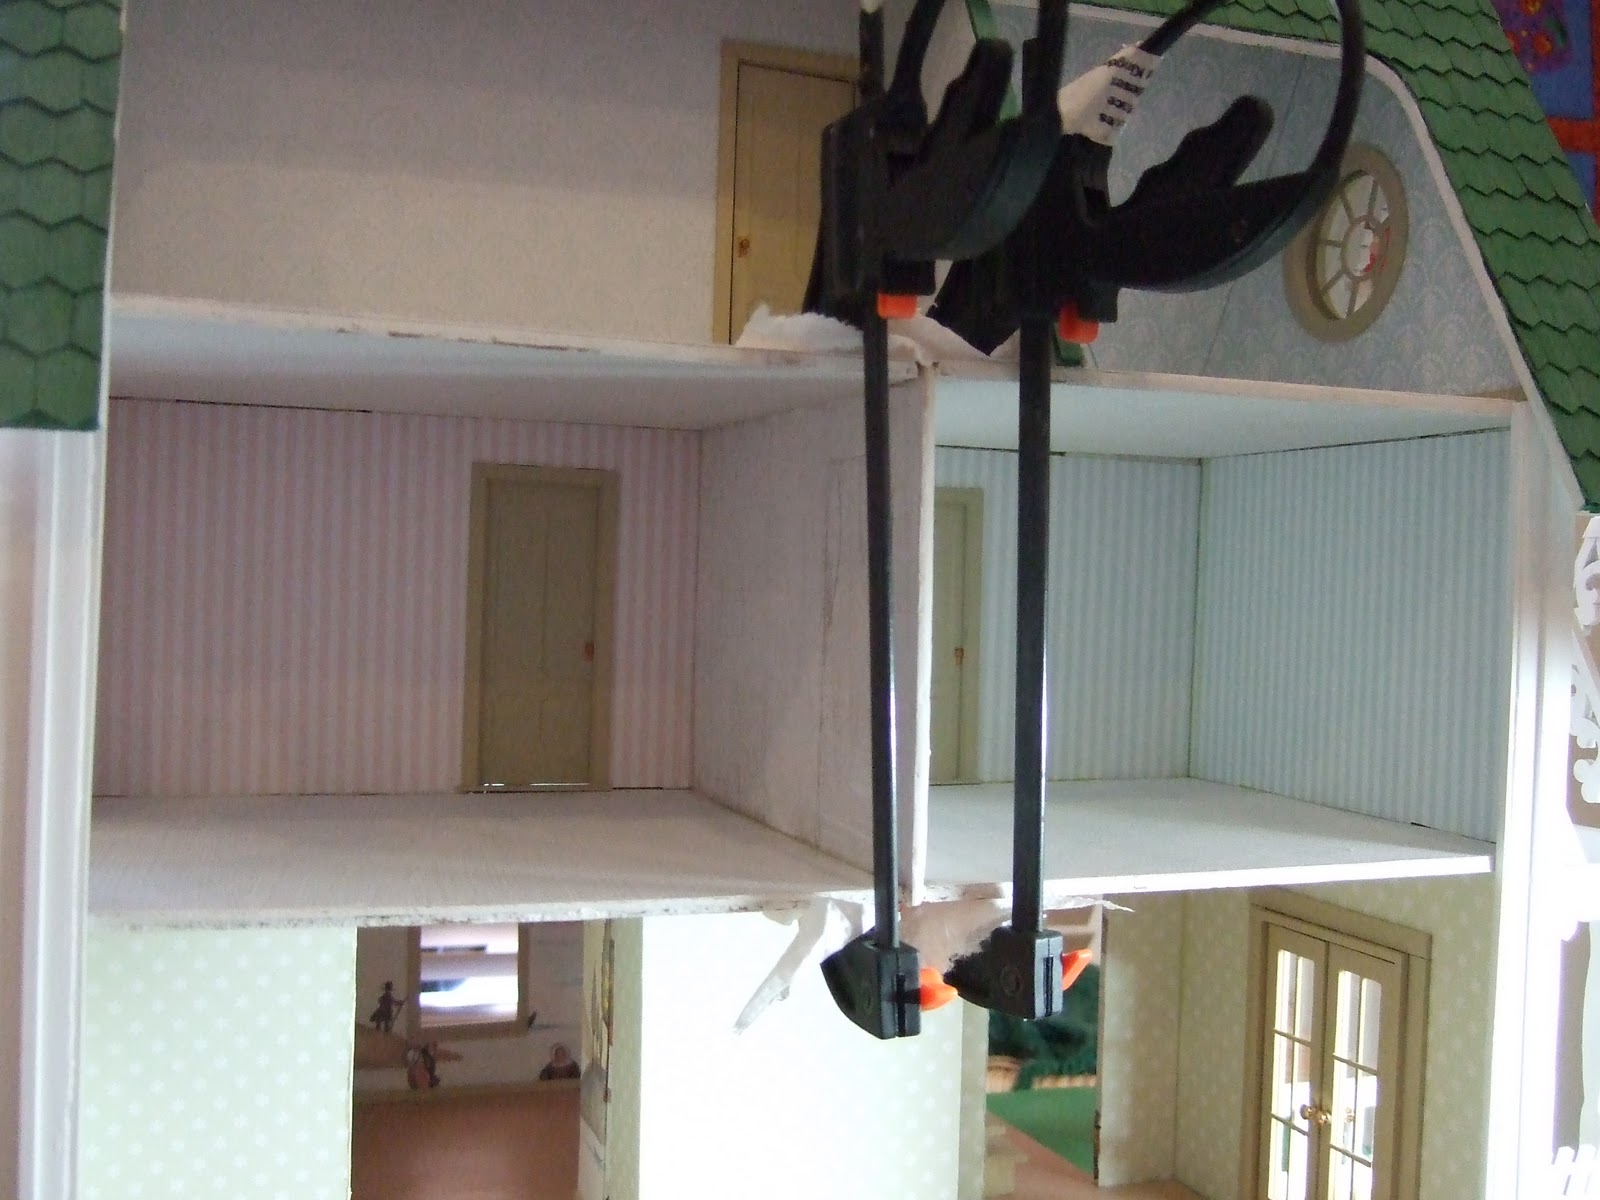
Then I glued the railing into place.


To finish off the bottom edge, I used one of the plastic strips that I have been using for skirting.  I carefully cut partly through the strip from the reverse side, using a mitre saw, at each place where it needed to bend to fit around the mezzanine.  Then I glued it in place. 

The final step was to touch up the beige paint.


Finishing the edges of floors

To finish the edges of the floors, I glued on some of the leftover plastic strip that I used for the vertical battens on the exterior walls.  It is slightly narrower than the floors, but not so much that it is obvious.  After spraying them with white primer, I glued the strips on with a mixture of tacky glue with spots of super glue, and held it with masking tape until it dried.  Then I touched up the strips and floor edges with the same white paint that I used on the house exterior.


Cornice for bedrooms

I cut and glued cornice into the boy's bedroom, and on two sides of the girl's bedroom.  This is when I realised that I am an idiot.  Remember my embarrassment a few posts ago, when I realised that I'd only made six window frames but really had seven windows - so I had to make an extra frame?  Well, guess what, there are only six windows.  I was thinking the boy's bedroom had a window as well, and it doesn't.  I even got my husband in this time, to count the windows, and after a good laugh he confirmed there are six.  Somewhere along the line, part of my brain has obviously gone missing...

Making a garden feature

I really wanted a nice little 1/24th scale pond to sit on my lawn.  I saw some great ones in 1/12th scale, in resin, which were quite cheap.  But I can't find any decent 1/24th scale ponds on the internet.  I could make one myself, but the 'hard' water/resin only comes in expensive large quantities, and I don't like the sticky jelly water.  So I decided to go for a planter instead, modelling it on an expensive one that I found online.

Mine is made from Creative Paper Clay, an air-dry clay which is expensive and hard to get here in the UK, but Judith of In Some Small Way sometimes sells it.  I learned how to use paperclay when I took a course from Rik Pierce in Chicago.  I started with a round plywood circle, and the plastic cap from a milk bottle.  I was aiming to end up with a feature about the same height as the seat of a chair.  I glued the cap onto the disk with some solvent-based glue (UHU).


After smearing the cap with white glue, I covered the top with a bit of paperclay, and started adding pea-sized 'rocks' of paperclay around the sides.


After completing one row, I added another row on top of that.


And finally I added a third row as a rim, aiming to get it fairly level all the way around. 


Then I stippled the clay with a stiff brush, to give a rock texture and to blend the lumps together.


I let that dry for a while, until it was a bit crusty, then went over the joints with a blunt point, to give the look of mortar.  I will leave the crumbs in place until it has dried more, then brush them away.


Then I repeated the process to add a rim around the outside of the wooden disk.


When the feature was about half-dry, I brushed off the crumbs, then left it to dry all the way.


Sunday 21 November 2010

My mini work station

We finally said farewell to our French exchange student on Saturday, so today we have been trying to get the house back to normal and retrieve all the clutter from the hidey holes where we concealed it.

One big piece of clutter is, of course, the Fairfield, and I had to decide what to do about it.  In less than three weeks, I will be having some people to lunch for a family birthday, and then a few weeks after that will be Christmas.  So there didn't seem much point in re-installing the Fairfield construction station in the kitchen, as it would only have to be moved.

After a bit of thought, this is what I've come up with.  It is yet another picnic table, but a smaller one this time, and I have managed to squeeze it into my bedroom between the bed and the window.  It isn't ideal, but as the major construction is all finished now, I think this will be ok for working on the details inside.  And I can always bring a furniture kit downstairs and spread out on the kitchen table on a weekend. 

Otherwise, the only thing I did this week was to finish cleaning up the base of the mezzanine railing, and touching up the paint.  I applied one coat of semi-gloss varnish to the white posts, which makes it look more finished.


Judith shocked me by suggesting that I had been working on this house for a year now.  I thought "surely not" and checked my first blog entry, which was 2 April 2010.  So it has been six months.  One day if I ever have the time, money and display space, I would love to tackle the Beacon Hill.  But do the math.  If the Fairfield takes me more than six months, and The Willowcrest took me two years (and it isn't finished), god knows how long a Beacon Hill would take!

Sunday 14 November 2010

Two week break

We have a guest staying in our house for eight days - a French teenager from Marseilles who is my son's French exchange partner.

Because of the arrival, I've had to move the dollshouse construction zone out of the kitchen, both for appearance's sake and to make more room for a fourth person.  As everything has been packed away, and the house is temporarily in my bedroom, it's next to impossible to work on it. 

Our guest leaves next Saturday, so hopefully next Sunday I can get all set up again and return to working on the house.

So all that I have to report this week is that I have been tidying up my mezzanine railing by applying a little filler to a few of the whittled stumps that are showing too much, to smooth these out and make them look better.

You would have enjoyed seeing me trying to explain why my real house is full of miniature houses, to a 15-year-old kid that speaks very little English.  I don't speak much French, so we really couldn't get into the whole minis obsession thing. He was very polite about it, but god knows what he was really thinking  :)

Sunday 7 November 2010

Leaps and bounds

I think there is a kind of ebb and flow when you are building a dollshouse.  In the early stages, you race ahead, and progress seems rapid as the shell takes shape.  Then it slows down to a steadier pace as you add construction details like staircases and conservatories.  But then there are weeks where it is like wading through molasses, when you can spend a whole week gluing on shingles (or painting them... shudder) and feel like you have nothing to show for it. 

This week has felt more like a leap and a bound, as I have been able to get back to things that make a visible difference, after fiddling around with all that cornicing and skirting the last few weeks.

With the trim all completed in the mezzanine, I felt it was safe to hinge in the Grandtline bedroom doors.  These work on a simple pin & pivot system - the door frame has two cut-outs top and bottom to accept the molded pins at the top and bottom of the door, and the door pins are retained in the cut-outs by gluing in incredibly fiddly tiny bits of odd-shaped plastic across the fronts of the cut-outs.


With the bedroom doors in, I could finally add the last main construction component:  the bedroom dividing wall. The tabs at the front edge fit into the slots in the floors above and below.


The top slot is hidden by the bathroom floor, but I had to fill in the slot in the kitchen ceiling:  first with normal filler, then after I took this picture, I applied a smooth surface coat of fine filler.  I will sand this smooth if it needs it, then touch up the paint with the same textured paint I used on the main kitchen ceiling to make it unobtrusive.  You can see that the bedroom wall protrudes slightly at the bottom, not sure why as it's fine at the top.


Then I added wallpaper to both sides of the dividing wall to finish the papering in the two bedrooms.


Mezzanine Railing

As per my  last post, I had used my tracing of the mezzanine floor outline to cut the pieces for two railings, cutting the mitres by eye to fit around this odd shape.

I glued the railing pieces together in the following way.  I put a sheet of glass down over my drawing, and glued the pieces directly on top of the glass, taping each piece in place so that the pieces were retained exactly in the correct outline as the glue dried.  This has two benefits:  the railing dries absolutely flat, and the wood glue doesn't stick to the glass.  There is a third benefit:  when I had one railing all finished and glued, I just slid the glass along and taped/glued my second railing on top of the same outline. My piece of glass is an unused Ikea glass shelf from a bathroom cabinet.


I spent some time experimenting with my banisters, that I bought from The Dollshouse Builder at Miniatura.  I wanted to end up with a mezzanine railing that is a similar height to the stair railing.  I stacked my two new railings next to the stair railing, and held up a banister next to them, to see where I should cut the banister.  I decided to retain the top carved detail, and most of the bottom carved detail.  I cut off the top of the banister to leave a 'peg' above the carved detail, and I cut the bottom of the banister short, then whittled the remnant (up to and including the lowest bump on the lower carved detail) into a pointed stump.  The reason for leaving the peg and the stump is so that I will have something to glue into holes I would drill in the railings, to give the railing some strength.  After measuring for holes (see below), I knew I needed 25 banisters, so I cut and trimmed 26 to be safe.  Then I gave them and the railing a quick squirt of white primer spray.  Guess what happens when you apply aerosol pressure to little round posts?  Yes, they go flying off all over the patio...


To decide where to drill the holes, first I went and measured our real-life banisters.  Our 1:1 railing has 3-inch gaps between posts, and the posts are set apart at 5-inches from centre to centre.  After hurting my brain with a bit of arithmetic and measuring the thickness of my banisters, I decided that 1/4 inch intervals would be about right for drilling my holes.  I used my quilting ruler to, first, mark the centre of the railing, and then to mark cross hairs at 1/4-inch intervals.


Then I taped together the two railings, and used my Dremel hand-held drill to drill holes at each cross-hair, choosing a drill size that my 'peg' fit into snugly.  It was surprisingly hard to be exact about drilling the holes - I wish I had a drill press attachment.  I put the railing on a bit of scrap wood, so that I could drill right through both railings without ruining my mat.

There was then a pause of a day or so, while I sanded and painted the railing and banisters:  railing in Bleached Bone to match the main trim, and the banisters in white.


Today I glued the banisters into the railing.  First dipping the 'pegs' at the top into some Tacky Glue, and screwing these snugly into the holes in the top railing.  Then smearing Tacky Glue along the bottom railing, and fitting the whittled stumps into the bottom holes.  I had to whittle a couple of these a bit more to make them fit properly.  The whole effect has come out better than I expected.  It needs a bit of fixing here and there, and it isn't exactly perfectly even, but it looks surprisingly well when I put it in place.  DH says he wants to live in the Fairfield.  The next steps will be to improve the appearance of the railing with trim and cover over the top railing to conceal the holes.