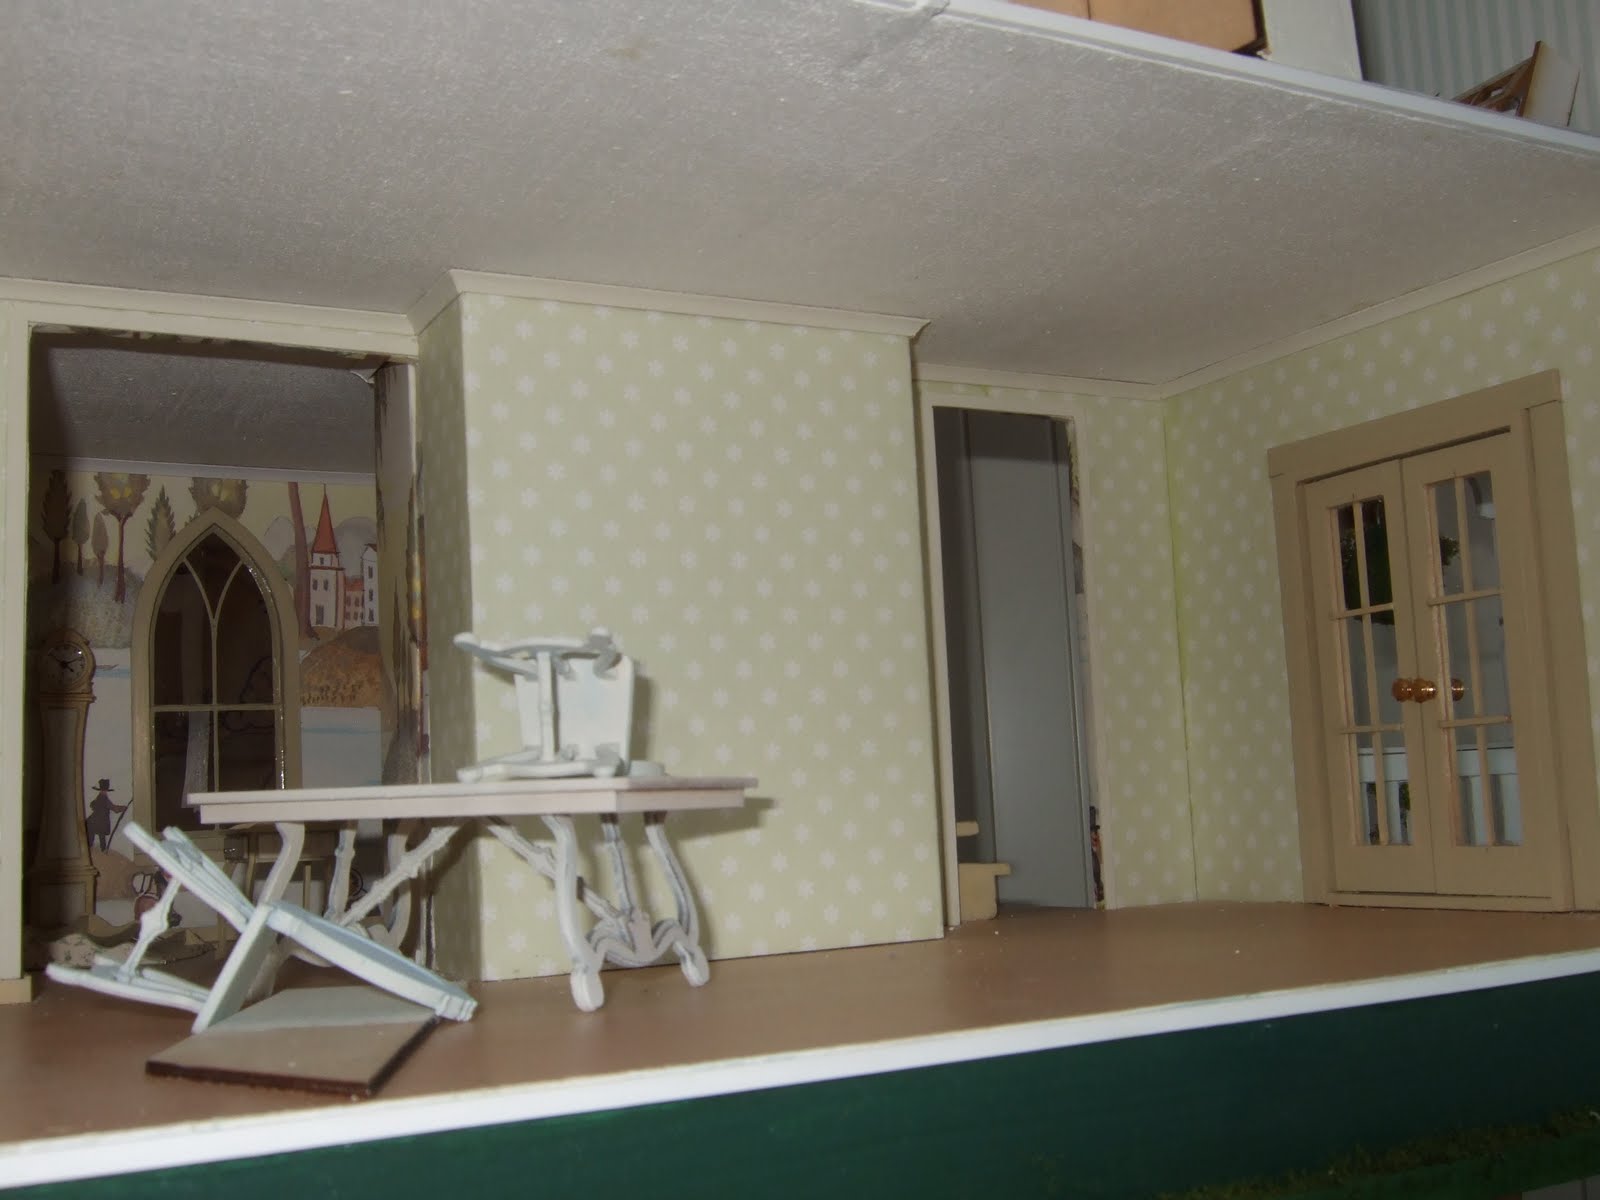
Our four-day weekend for the Royal Wedding wasn't quite the relaxing break with lots of dollshousing, that I had hoped for. We went away for two nights camping, and when we came back Sunday afternoon, it was to find that our house had been broken into. So the rest of Sunday was spent dealing with police and insurance companies, and getting the broken window boarded up.
Although the thief had thrown around a lot of our possessions in the bedrooms, searching for valuables, and there were signs of searching on the ground floor, none of my dollshouses seem to have been touched. Not even the Fairfield which was under construction in my bedroom, even though it was blocking access to a cupboard (which only had quilts in it, but the thief wouldn't have known that). So I am thankful for that. I can't help wondering what they were thinking, hyped up on adrenaline, quickly grabbing valuables, but finding cupboard after cupboard of craft materials and surrounded by a dozen or more dolls houses. Not to mention sewing machines, yarn etc. Probably cursing us for not having 'proper' valuables - if only they knew how much all of this stuff is worth! But then I suppose it wouldn't be easy to sell. They stole my son's Wii, his handheld game consoles, most of his games, and his savings, and some of my jewellery and my husband's watch, and both our laptops. We all feel a bit unsafe now I think, and it will be a long time before we get our son to come camping again...
Anyway. I did do some work on the Fairfield kitchen in the week, and a bit more today, so I will blog about that.
Before I do, I would like to welcome Rosamargarita, who I think is the 99th follower. One more and I will have 100 people who are interested in my little Greenleaf conversion. I am really grateful for the interest and support that you are all showing, and it definitely motivates me to keep going. There are weeks when I know I would procrastinate and not do anything, but then the thought of having nothing to blog makes me do something. Which is good.
Accessorising
This week I was adding some accessories and finishing the final cupboard unit containing the refrigerator. I have said before that I find this the hardest part. If you spend three hours building a house, you generally have a lot to show for it. Three hours painting kitchenware doesn't get you much at all!
I had a set of shiny silver kitchen pots and pans, and a set of kitchen tools. I added a couple of tiny turnings to be salt & pepper shakers. I started out by painting the 'plastic' tools in Citadel Foundation paint (available from Games workshop) in Astromicon Grey. Then I painted the inside of all of the pots in Games Workshop Boltgun Metal which is a dark silver.
I like the Games Workshop paints which are acrylic and go on well over almost any surface. They aren't cheap but I am lucky as my DH and DS both collect and paint models, so we have lots of pots of paint. Although I have to be a bit sneaky about using them.

I painted the outside of the pots and pans, and the Tiny Turnings, and the handles of the tools, in Citadel Foundation Bleached Bone (which surprisingly is lighter in colour than normal Games Workshop Bleached Bone. After I took this picture, I gave them all a coat of clear nail varnish to make them shiny.
I put some glue in a plastic lid, and placed in all the kitchen tools. You can still see the wet glue in this picture but it dried clear. See what I mean about hours of work disappearing - you can't see most of the tools now! It looks fairly realistic though, just like my real utensils jar in my real kitchen.
Then I started gluing in groceries, cookbooks, and some jars I had bought earlier. It was easier to fill the shelves of this cupboard before I glued the cupboard to the wall. None of these groceries are terribly convincing in high resolution digital images, but they look ok in the kitchen to the naked eye.
I decided to put the pots and pans in the corner shelf, where they would be on view, and handy for the cook working at the island stove/hob, plus near the ovens. I stuck the pots and pans in first with Tacky Wax, then painted and glued in the lasercut railing around each shelf. The railing was the final bit of the original kitchen kit from Judith of In Some Small Way. It's a nice touch, but I had trouble getting it to fit evenly around the shelves.
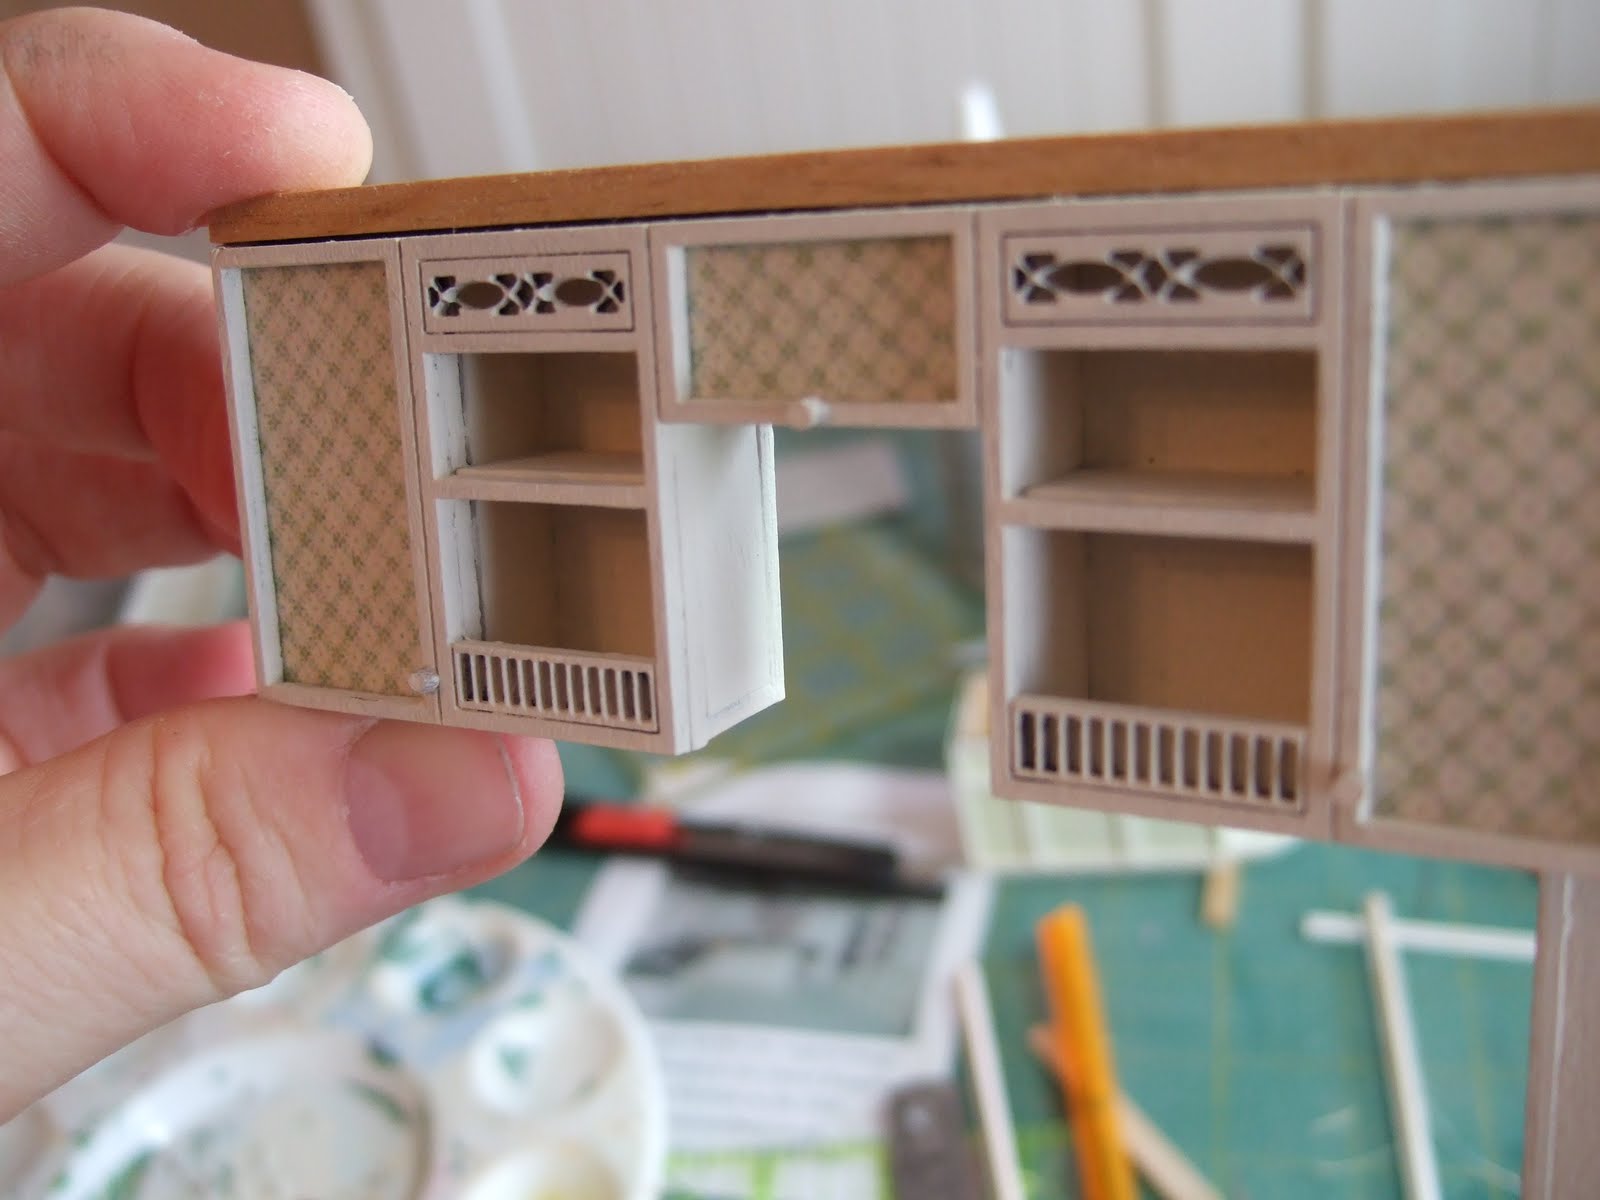
Bashing the fridge cupboard
You may remember I am using a refrigerator that is a fridge magnet, plus a cardboard cupboard from Petite Properties. I started the conversion by gluing in some padding pieces of wood between the hinges of the refrigerator doors.
Then I glued on the cardboard cupboard. First I trimmed off the front edge of the top and bottom pieces so they were more flush with the doors. Then I glued it on flush with the front of the refrigerator.
Then I glued on some padding pieces of thin wood on either side of the cupboard, so the sides become flush with the top and bottom pieces, and with the sides of the refrigerator.
To complete the illusion of a fitted cabinet, I cut a piece of thin wood into a side piece, and top piece, and glued them on.
I added a thicker piece of wood in an 'L' shape along the top edge, and glued on some mitred cornice, in the same way that I completed the other kitchen cabinets. You can see that it now looks like a cupboard, although it has come out slightly taller than the other units.
To finish, I gave it three or four coats of 'Tapioca' to match the other units, and glued in the acrylic panes that come with the cardboard cupboard kit. I also painted and glued on the same handles that are on the rest of the kitchen.
I glued in the last of the groceries, onto the shelves of the cupboard, and then glued the finished unit into the corner of the kitchen. Now I just need to fill in a few pieces of skirting, and the kitchen is more or less finished. Just needs two stools for the breakfast bar and of course more accessories.