After much pondering and sitting motionless in front of the dollshouse, holding up bits of wood while I thought about what to do for my conservatory (with DS and DH rolling their eyes at each other in the background), I decided to go for a look that matches the front porch. It will look a bit different from the original Pickett Hill (PH) but I think it will be a better result to have a conservatory and porch that look similar on this house.
I'd used up the porch railing pieces from my own Fairfield kit when I built the front porch, so I had the two porch railing pieces that Keli sent me.


 Then I cut up scrap plywood from other unused kit pieces, and glued it all together to lengthen the top and railing portions.
 I strengthened this assembly by gluing coffee stirrers on the back of the railings, and a beam across the top of the piece (which will help support the roof structure).
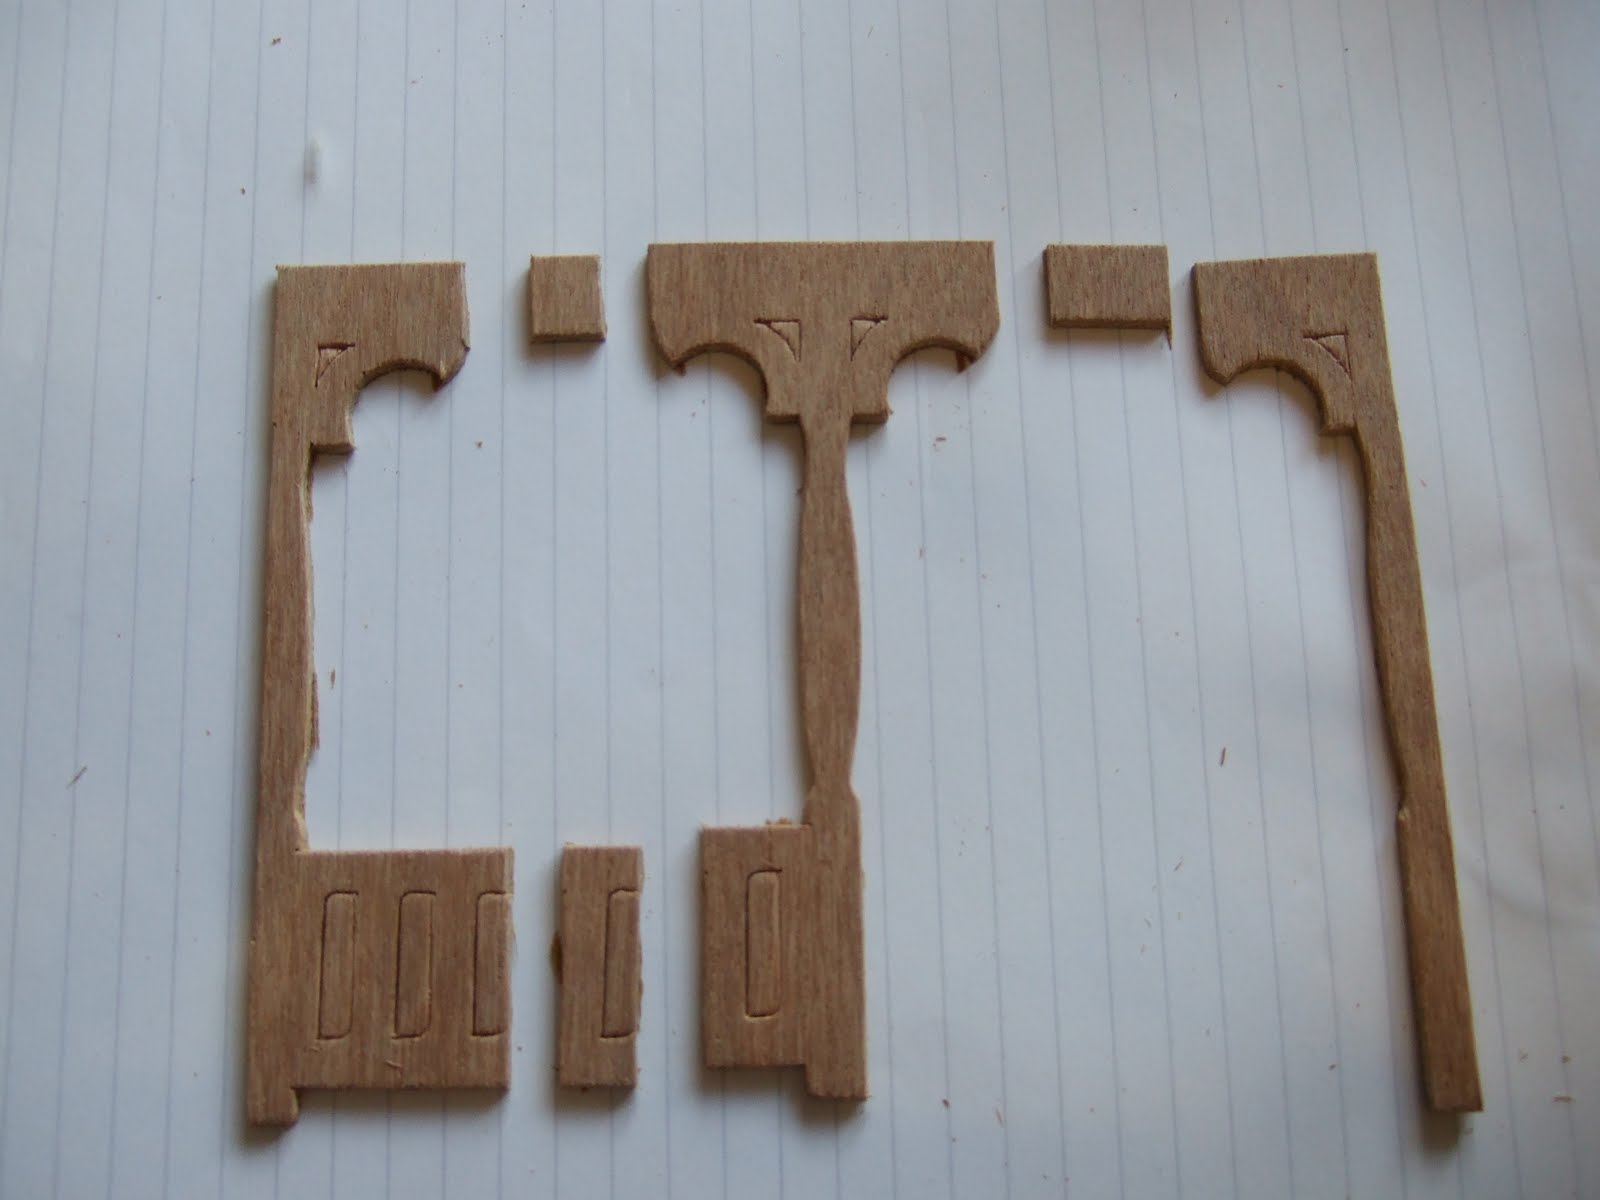 For the front of the conservatory, I used the other porch railing piece which includes a doorway. This piece was too wide, so I cut out sections to reduce it to about 4.5 inches.
 Once I had the proportions right, I glued bracing on the back as I had done on the sides.
 A bit of filler helped to tidy up the joins, plus I sanded the new extended railing pieces to round out the corners to look more like the original railing. Here are the three sides of the conservatory, ready for the first coat of paint. I will paint a few coats of white acrylic craft paint, sanding in between, to smooth out the surface. Then I will paint a few final coats of the house emulsion so that the conservatory matches the house.
 Meanwhile, I made a base for the conservatory using some scrap plywood and the same battens that I used to build the house foundation. I made the base so that it projects slightly out from the conservatory sides. Sorry the picture came out fuzzy.
Fabulous!
ReplyDeleteI'm glad I sent you the porch pieces, it was worth it to see your conservatory match...it's just what I imagined it should look like.
It was most generous of Keli, and you are making a lovely conservatory. You are an extremely creative person and I'm so glad you have shared this process with us! Thank you.
ReplyDeleteI have some porch/railing type pieces that are half scale that I am not using. Would you still have any use for them?? You can email me at alpangle at comcast dot net
ReplyDelete