I've just realised that I missed my blog-iversary - it's now been more than a year since I started this project on 2 April 2010. So I'm either really getting my money's worth from the Greenleaf Fairfield kit in terms of hours of enjoyment, or I am just incredibly slow. Or maybe a bit of both. If I didn't have to work, and could spend hours every day on my dollshouses, then this blog would have been concluded a long time ago. Sadly I live in the real world and have to spend five days a week at a desk in London, where I don't even get much time to read other people's blogs. Sigh...
This week I have continued to apply the wallpaper and trim to my kitchen cupboards. This is the oven cabinet with the microwave and oven glued in place.
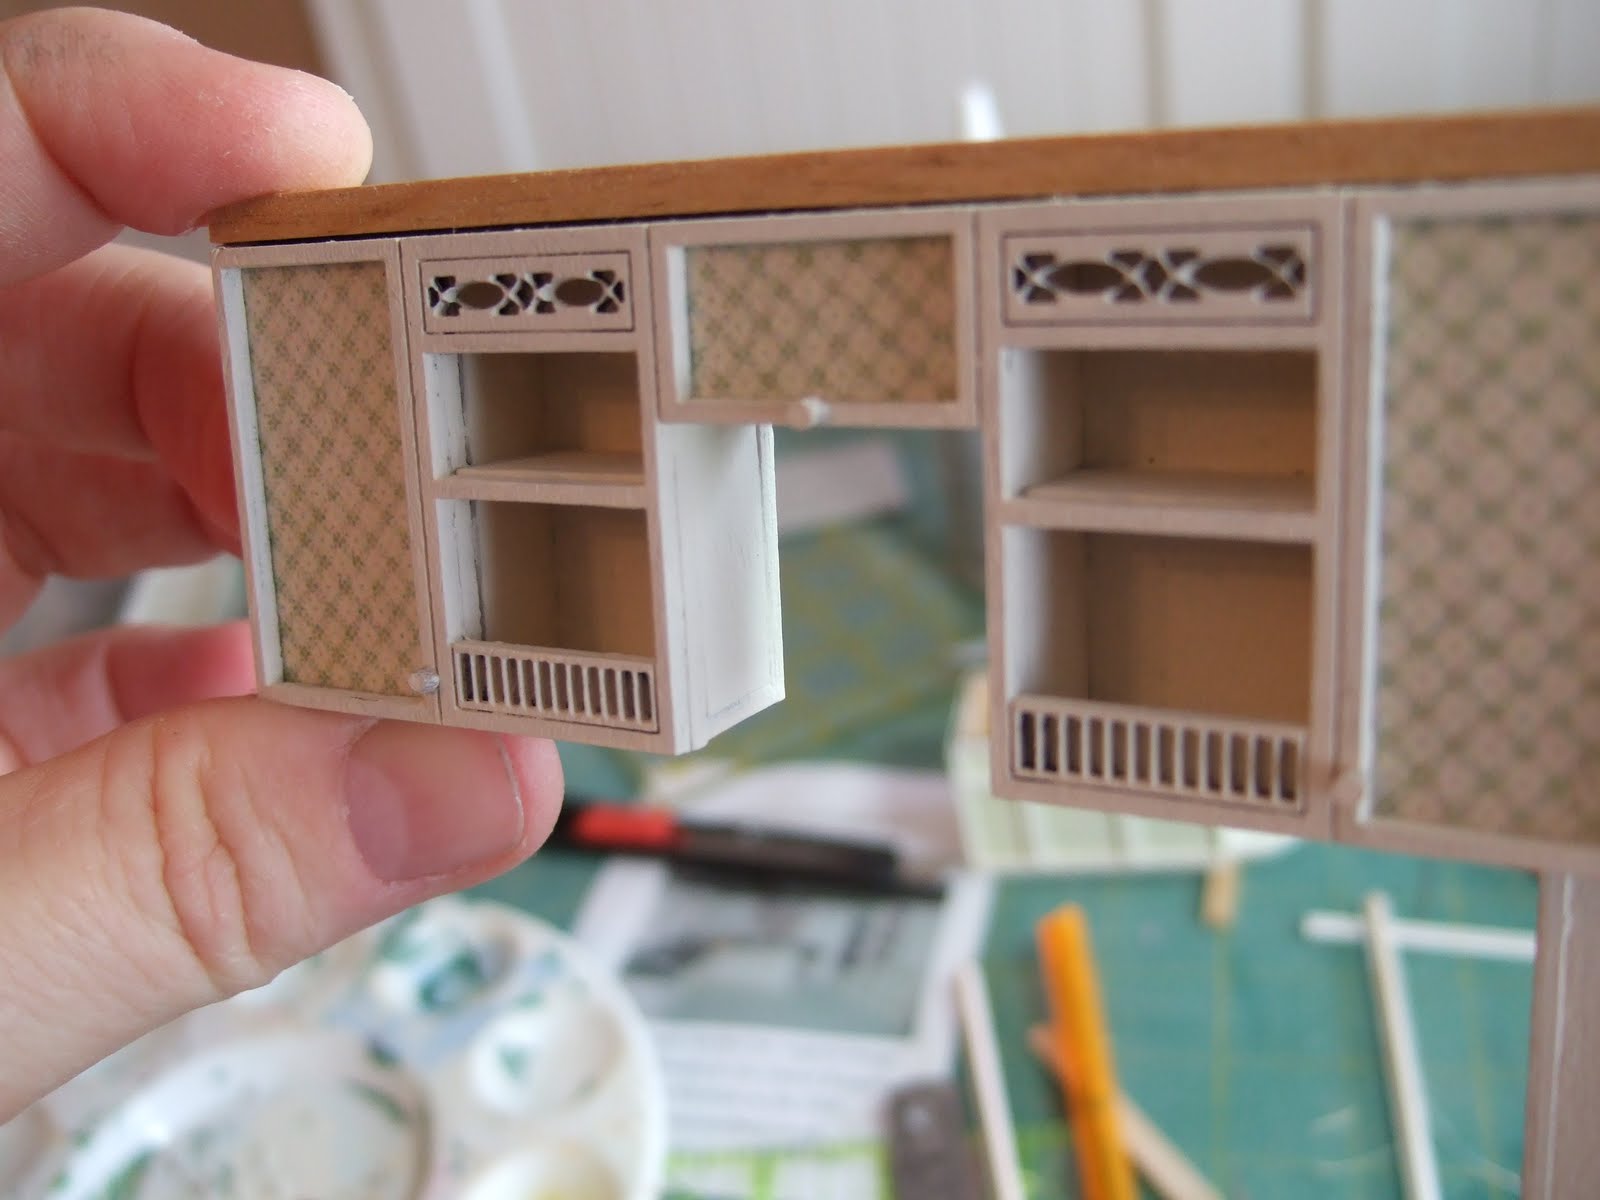
There is far more wallpaper provided in the kit than you actually need. So I decided to add some faux cupboards to the other side of my kitchen island by using some of the excess wallpaper. I turned the unused trim from the refrigerator (because I am using an actual refrigerator) sideways, cut off the 'cupboard' and cannibalised the cut-off part to make uprights. It isn't quite right as the kickboard at the bottom is disproportionately high, but you will only be able to see this side of the island by peering in the windows so I think it will be alright. Better than a blank face.
This is how much wallpaper I had left over.
I'm not going to be able to use the prepared cornicing provided in the kit, so I glued on a thick board on top of the wall cabinet which will act as a foundation for gluing new cornice to.
I added a spacer bar down the right side of the oven cabinet as it isn't quite wide enough for the alcove where I am putting it, then added a matching cornice-base to the top of the oven cupboard. Then I glued the wall cupboard to the oven cupboard, forming an 'L' shape.
At this point, I tried everything in place to see how it was going to look. I like it. The wallpaper in the kit suits the green wallpaper in the room, and the cabinets all look fairly natural and not like they have been kitbashed. Whew!
I haven't painted the dining set yet as I am waiting until the kitchen is done before I decide on colours.
Then it was time to add the knobs. These come in the kit and are basically tiny segments cut from a dowel. The instructions recommend that you paint them by rolling them around in a puddle of paint, then rubbing excess paint off between your fingers. I found it took two coats, and the dark sides of the cylinder were still showing but I decided to leave them as otherwise my knobs would be invisible against the matching cupboard. I applied them with tweezers, dipping them in glue and then positioning them. I had to go downstairs and look at my real cupboards to see where the knobs should go.


Wow! Your kitchen is stunning.
ReplyDeleteLove love love! You are really impressing me! And, watching you work on this makes me want to dust off my unfinished Fairfield and finish it. Cheers!
ReplyDeleteThis kitchen is equally as lovely as the PH one - you have done a wonderful job, and have a unique house at the end of it.
ReplyDelete